
今回は、Ktorで簡単な画面遷移を実装するメモとなります。
以下のような画面遷移を実装します。
あくまでも流れや挙動を簡単に掴むために実施した内容なので、
レイアウトは適当ですし、バリデーションや意図しないルーティング制御等、
細かく考慮しておりませんがご了承ください。
プロジェクトの内容などは、以下の記事と同様ですので、こちらを参考に頂ければと思います。
公式のチュートリアルもわかりやすいので、まずはご確認頂ければと思います。
目次
環境
- macOS:Big Sur 11.5.2
- IntelliJ(Ultimate Edition):2023.1
動作確認バージョン
- Kotlin:1.9.0
- Ktor:2.3.3
- JDK:amazon-corretto-11
- Logback:1.2.11
- Gradle:7.5.1
- FreeMaker:2.3.3
テンプレートエンジン FreeMarker 設定追加
テンプレートエンジンの設定を追加します。
・gradle.properties 修正
既存の設定に加えて、FreeMarkderのバージョン指定を追加します。
free_marker_version=2.3.3 // 追加・build.gradle.kts 修正
gradle設定ファイルにテンプレートエンジンの設定を追加します。
・FreeMarkerバージョン指定
val free_marker_version: String by project // 追加・FreeMarkder gradle依存関係追加
implementation("io.ktor:ktor-server-freemarker:$free_marker_version")val ktor_version: String by project
val kotlin_version: String by project
val logback_version: String by project
val free_marker_version: String by project // 追加
plugins {
kotlin("jvm") version "1.9.0"
id("io.ktor.plugin") version "2.3.3"
}
group = "com.example"
version = "0.0.1"
application {
mainClass.set("com.example.ApplicationKt")
val isDevelopment: Boolean = project.ext.has("development")
applicationDefaultJvmArgs = listOf("-Dio.ktor.development=$isDevelopment")
}
repositories {
mavenCentral()
}
dependencies {
implementation("io.ktor:ktor-server-core-jvm")
implementation("io.ktor:ktor-server-netty-jvm")
implementation("ch.qos.logback:logback-classic:$logback_version")
testImplementation("io.ktor:ktor-server-tests-jvm")
testImplementation("org.jetbrains.kotlin:kotlin-test-junit:$kotlin_version")
implementation("io.ktor:ktor-server-freemarker:$free_marker_version") // 追加
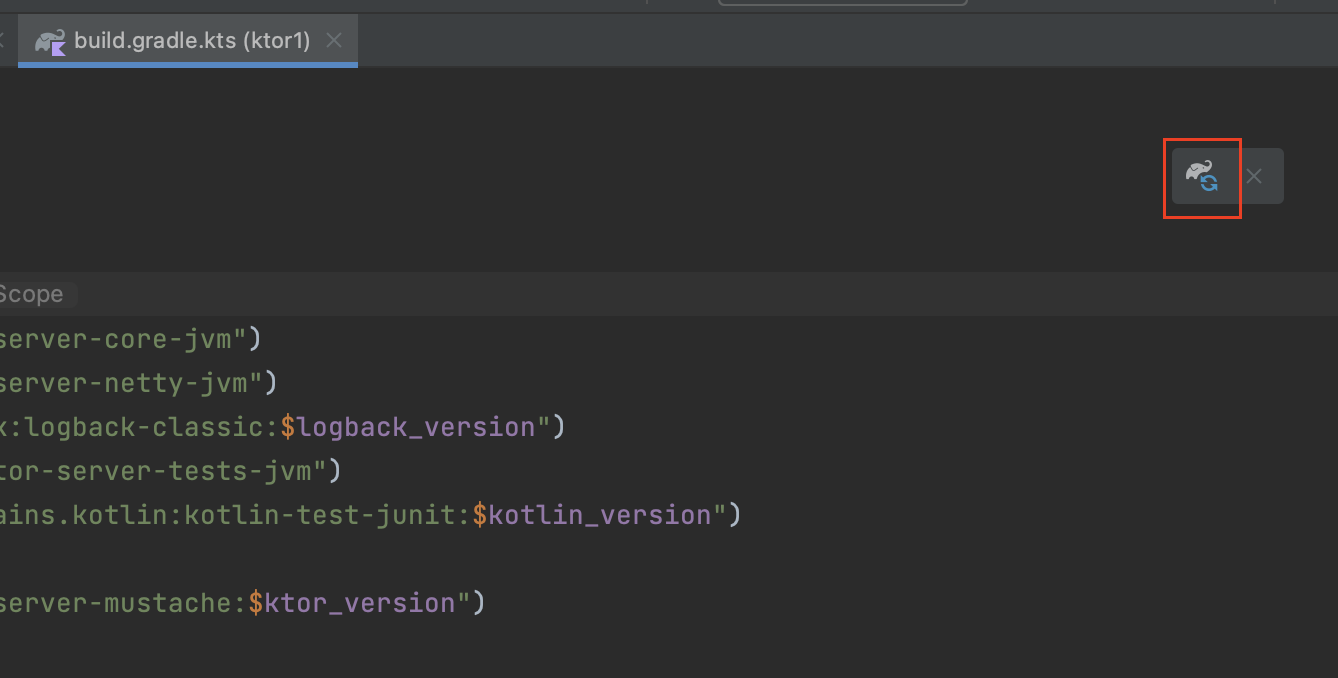
}修正後は、gradle依存状態を更新します。
FreeMarkerを利用するために必要なライブラリを利用できるようになります。
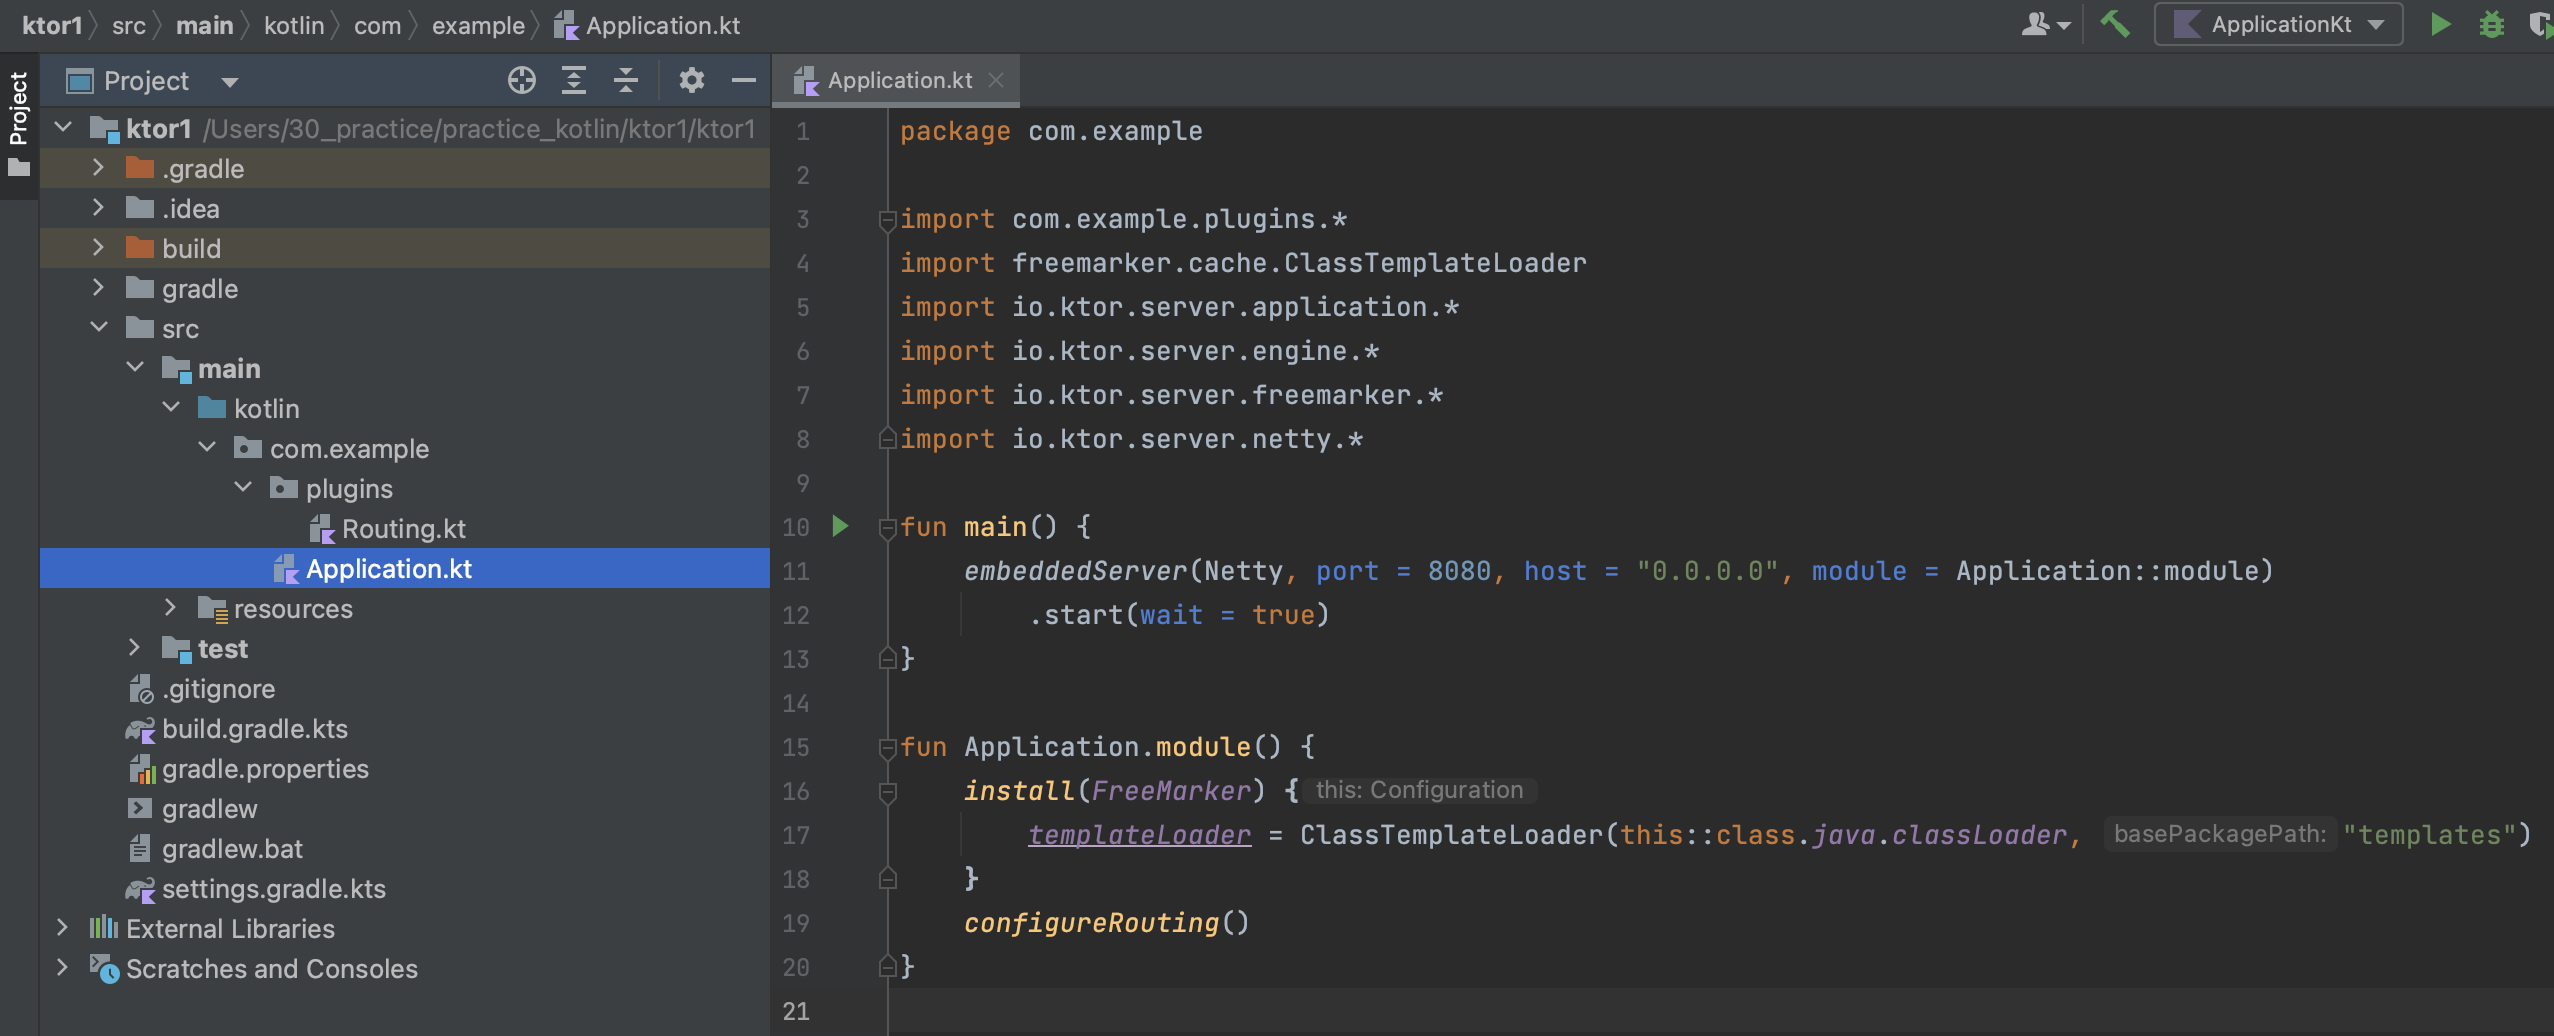
・Applicaiton.kt 修正
プロジェクト内でFreeMarkerのテンプレートを利用できるようにするために、以下を追加します。
install(FreeMarker) {
    templateLoader = ClassTemplateLoader(this::class.java.classLoader, "templates")
}
package com.example
import com.example.plugins.*
import freemarker.cache.ClassTemplateLoader
import io.ktor.server.application.*
import io.ktor.server.engine.*
import io.ktor.server.freemarker.*
import io.ktor.server.netty.*
fun main() {
embeddedServer(Netty, port = 8080, host = "0.0.0.0", module = Application::module)
.start(wait = true)
}
fun Application.module() {
install(FreeMarker) {
templateLoader = ClassTemplateLoader(this::class.java.classLoader, "templates")
}
configureRouting()
}ClassTemplateLoaderの第2引数で指定した文字列のディレクトリが、テンプレートファイルの配置場所になります。
ClassTemplateLoader(this::class.java.classLoader, "HTMLテンプレート配置ディレクトリ名")
尚、Application.module()は、後ほどルーティング等を実装した後に、追加修正を行います。
画面テンプレート作成
続けて画面を作成しています。
先ほど、ClassTemplateLoaderで"templates"を配置場所に指定したので、
templateLoader = ClassTemplateLoader(this::class.java.classLoader, "templates")
HTMLテンプレートは、プロジェクトルート/src/main/resources/templatesに配置します。
fun Application.module() {
    install(FreeMarker) {
        templateLoader = ClassTemplateLoader(this::class.java.classLoader, "templates")
    }
}
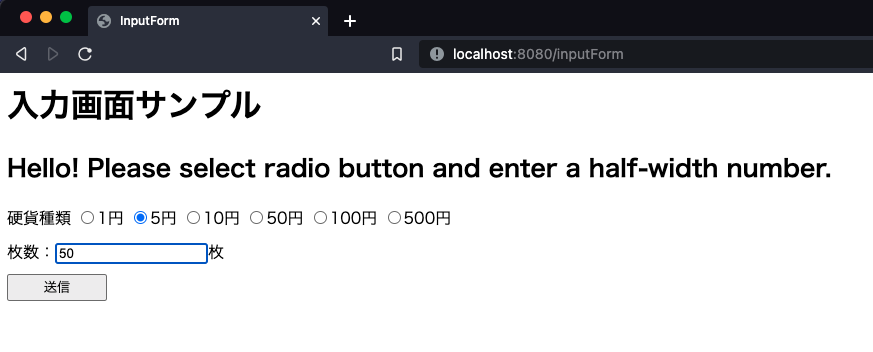
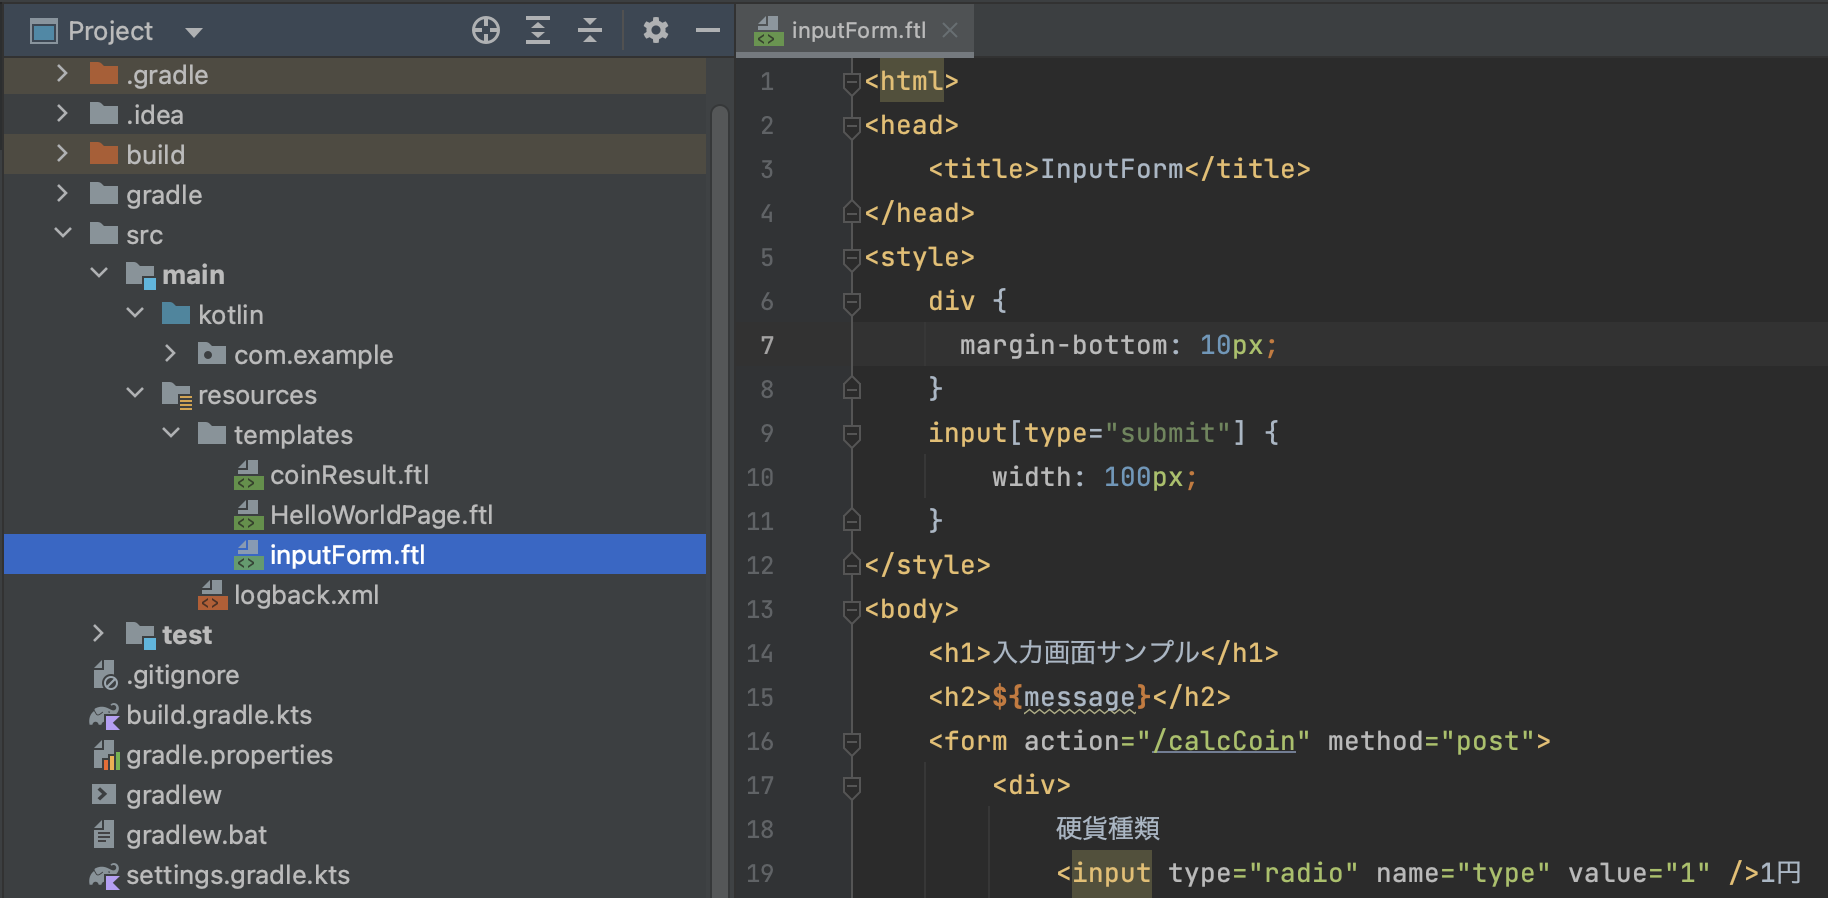
まずは、入力画面を作成します。
inputForm.ftl
<html>
<head>
    <title>InputForm</title>
</head>
<style>
    div {
        margin-bottom: 10px;
    }
    input[type="submit"] {
        width: 100px;
    }
</style>
<body>
    <h1>入力画面サンプル</h1>
    <h2>${message}</h2>
    <form action="/calcCoin" method="post">
        <div>
            硬貨種類
            <input type="radio" name="type" value="1" />1円
            <input type="radio" name="type" value="5" />5円
            <input type="radio" name="type" value="10" />10円
            <input type="radio" name="type" value="50" />50円
            <input type="radio" name="type" value="100" />100円
            <input type="radio" name="type" value="500" />500円
        </div>
        <div>枚数:<input type="text" name="count" />枚</div>
        <input type="submit" value="送信" />
    </form>
</body>
</html>
ラジオボタン・テキストボックスのnameは、コントローラでパラメータを受け取る際に指定する文字列になります。
actionのパスも後ほど実装するコントローラの文字列に合わせます。
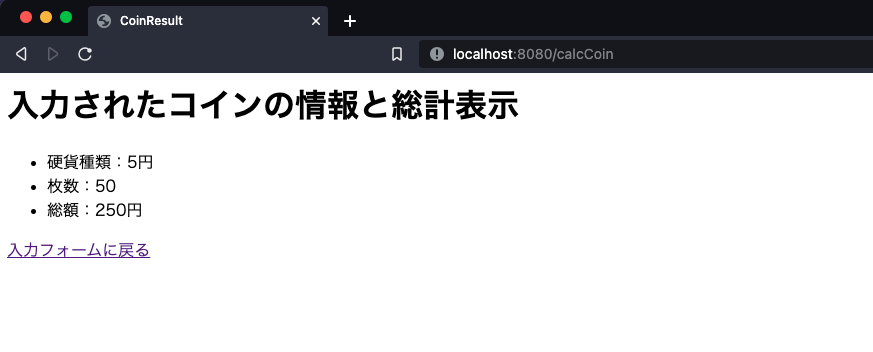
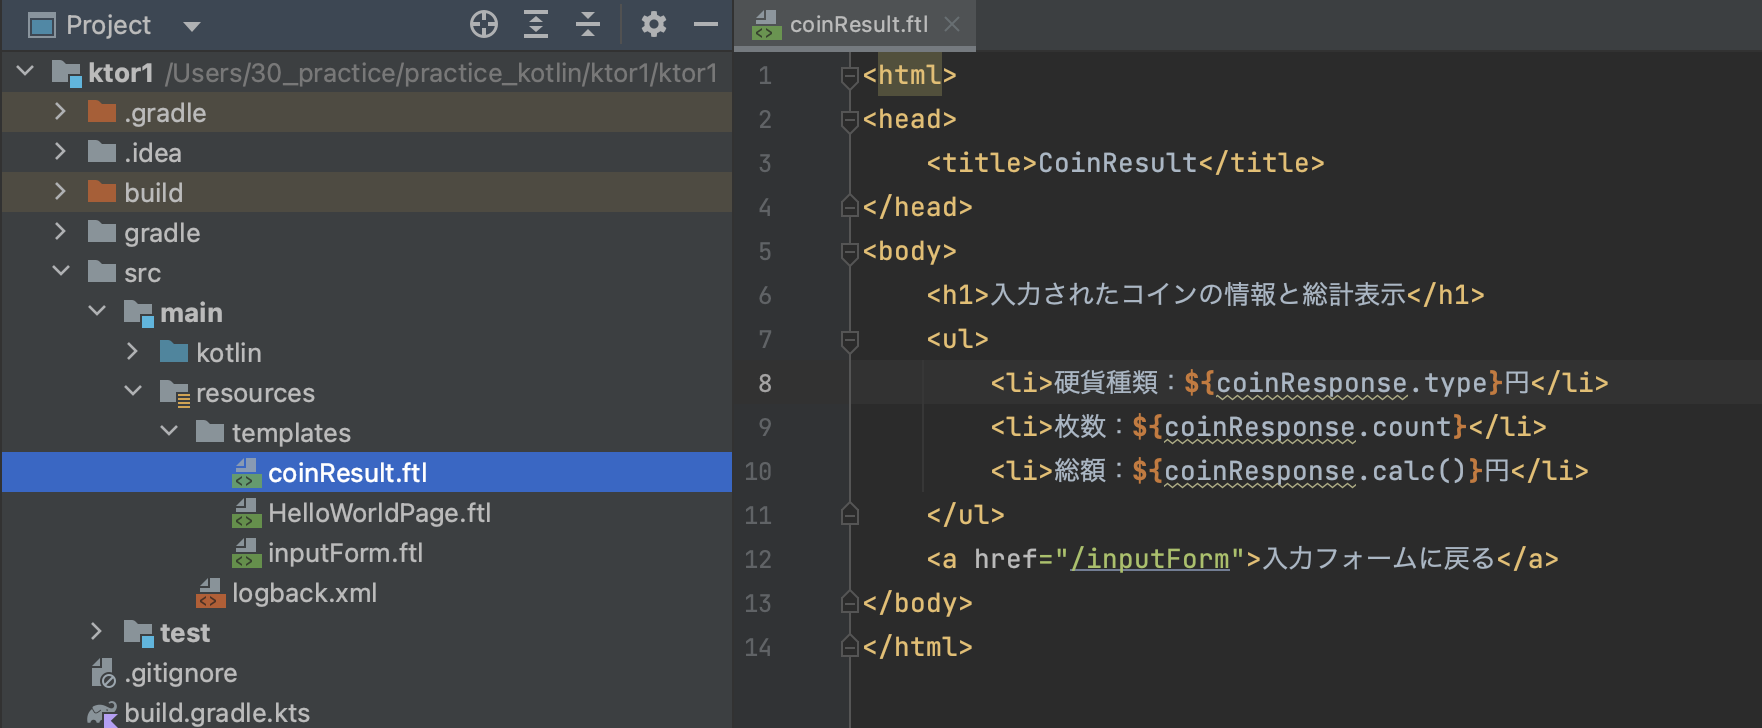
入力画面から送信された後の結果画面も作成します。
coinResult.ftl
<html>
<head>
    <title>CoinResult</title>
</head>
<body>
    <h1>入力されたコインの情報と総計表示</h1>
    <ul>
        <li>硬貨種類:${coinResponse.type}円</li>
        <li>枚数:${coinResponse.count}</li>
        <li>総額:${coinResponse.calc()}円</li>
    </ul>
    <a href="/inputForm">入力フォームに戻る</a>
</body>
</html>
こちらのリスト部分の変数部分も後に実装するコントローラ・データクラスと合わせて指定します。
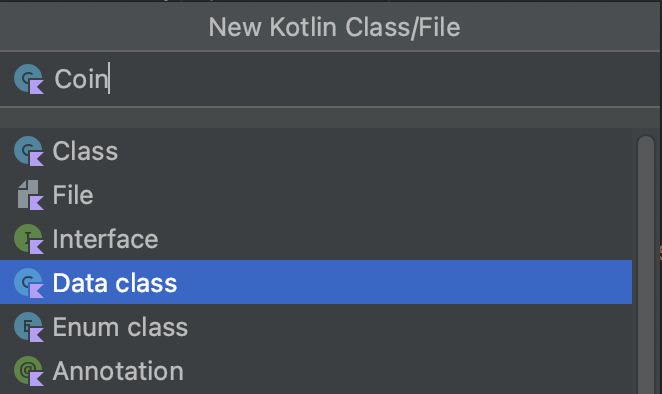
データクラス作成
データクラスは必須ではありませんが、
バックエンドからフロントエンドにデータを渡すのに便利なため作成します。
今回は、modelsというフォルダをcom.exampleフォルダの下に作成してそこに配置します。


ファイルを作成する際に、Data classを指定します。
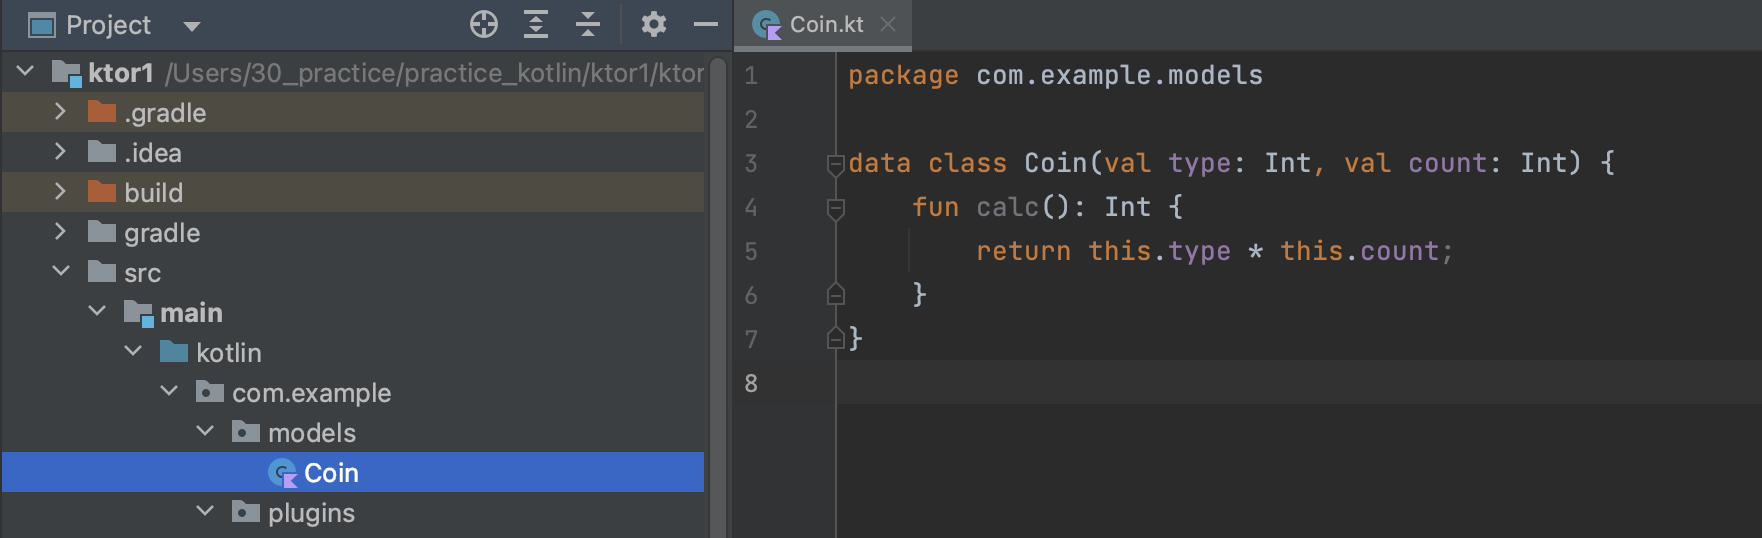
Coin.kt
package com.example.models

data class Coin(val type: Int, val count: Int) {
    fun calc(): Int {
        return this.type * this.count;
    }
}
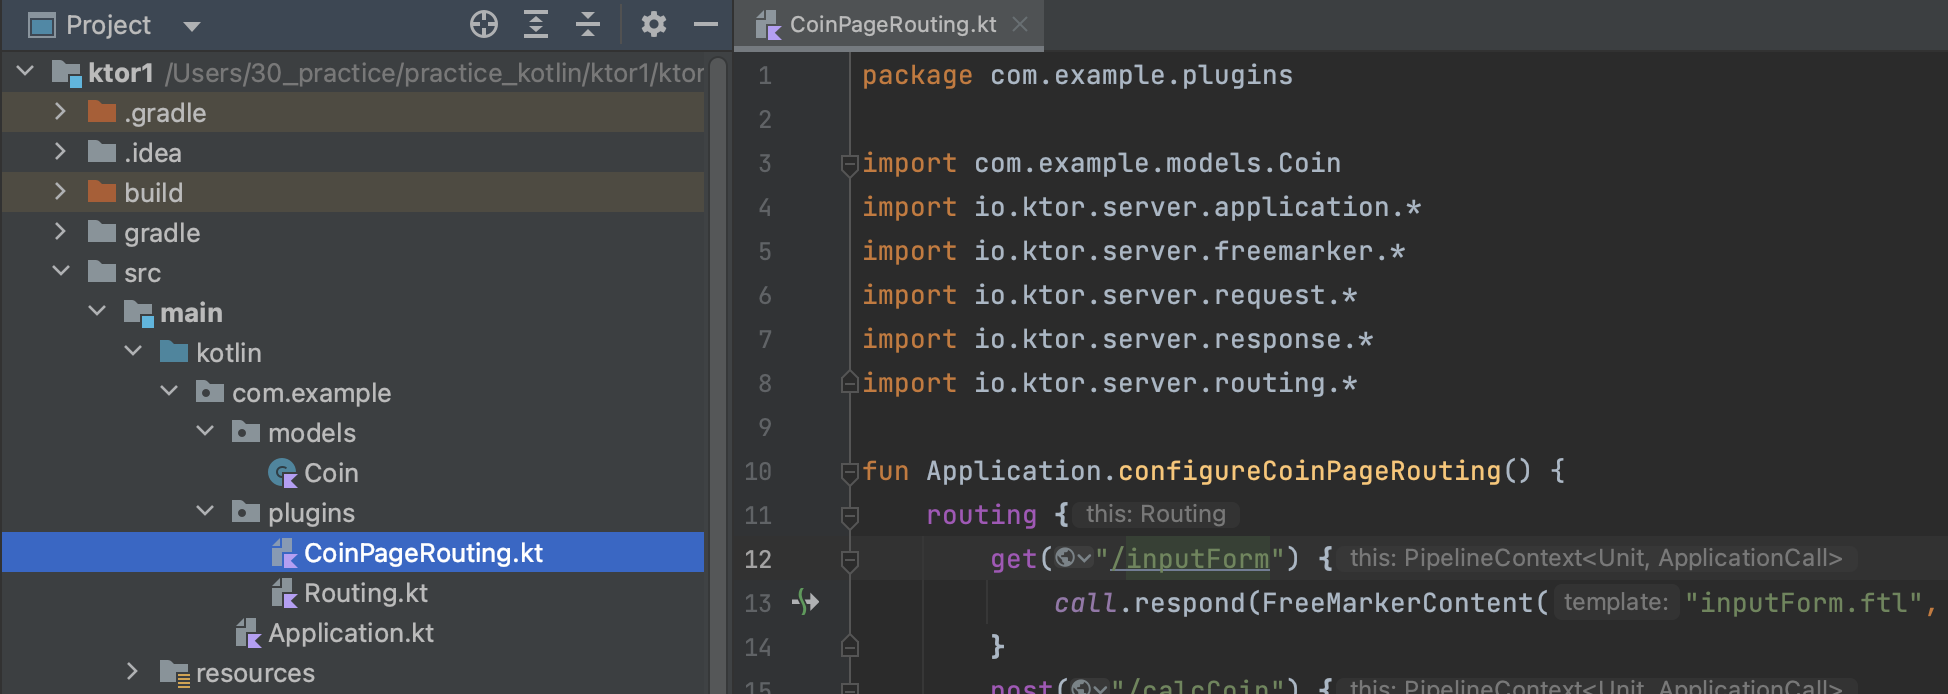
コントローラ作成
新規のファイルを作成して、入力画面と結果画面用の処理を実装します。
CoinPageRouting.kt
package com.example.plugins

import com.example.models.Coin
import io.ktor.server.application.*
import io.ktor.server.freemarker.*
import io.ktor.server.request.*
import io.ktor.server.response.*
import io.ktor.server.routing.*

fun Application.configureCoinPageRouting() {
    routing {
        get("/inputForm") {
            call.respond(
                FreeMarkerContent(
                    "inputForm.ftl",
                    mapOf("message" to "Hello! Please select radio button and enter a half-width number.")
                )
            )
        }
        post("/calcCoin") {
            try {
                val params = call.receiveParameters()
                val type = Integer.parseInt(params["type"])
                val count = Integer.parseInt(params["count"])
                val inputCoin = Coin(type, count)
                call.respond(FreeMarkerContent("coinResult.ftl", mapOf("coinResponse" to inputCoin)))
            } catch (e: Exception) {
                call.respond(FreeMarkerContent("inputForm.ftl", mapOf("message" to "There is a possibility of input error! Please select radio button and a half-width number.")))
            }
        }
    }
}
入力画面を表示するための処理は、
画面表示に使用するテンプレート名と、テンプレートに表示させるメッセージを指定しているだけのシンプルな処理です。
get("/inputForm") {
    call.respond(
        FreeMarkerContent(
            "inputForm.ftl",
            mapOf("message" to "Hello! Please select radio button and enter a half-width number.")
        )
    )
}
Post処理の方は、入力された内容を受け取り、作成したCoin型のインスタンスとして保持します。
その後、画面表示に使用するテンプレートを指定しつつ、Coin型のインスタンスをテンプレートに渡しています。
入力チェックを雑にtry-catchで処理していて申し訳ございませんが、
バリデーションについては別の機会にメモしたいと思います。
post("/calcCoin") {
    try {
        val params = call.receiveParameters()
        val type = Integer.parseInt(params["type"])
        val count = Integer.parseInt(params["count"])
        val inputCoin = Coin(type, count, type * count)
        call.respond(FreeMarkerContent("coinResult.ftl", mapOf("coinResponse" to inputCoin)))
    } catch (e: Exception) {
        call.respond(FreeMarkerContent("inputForm.ftl", mapOf("message" to "There is a possibility of input error! Please enter a half-width number.")))
    }
}
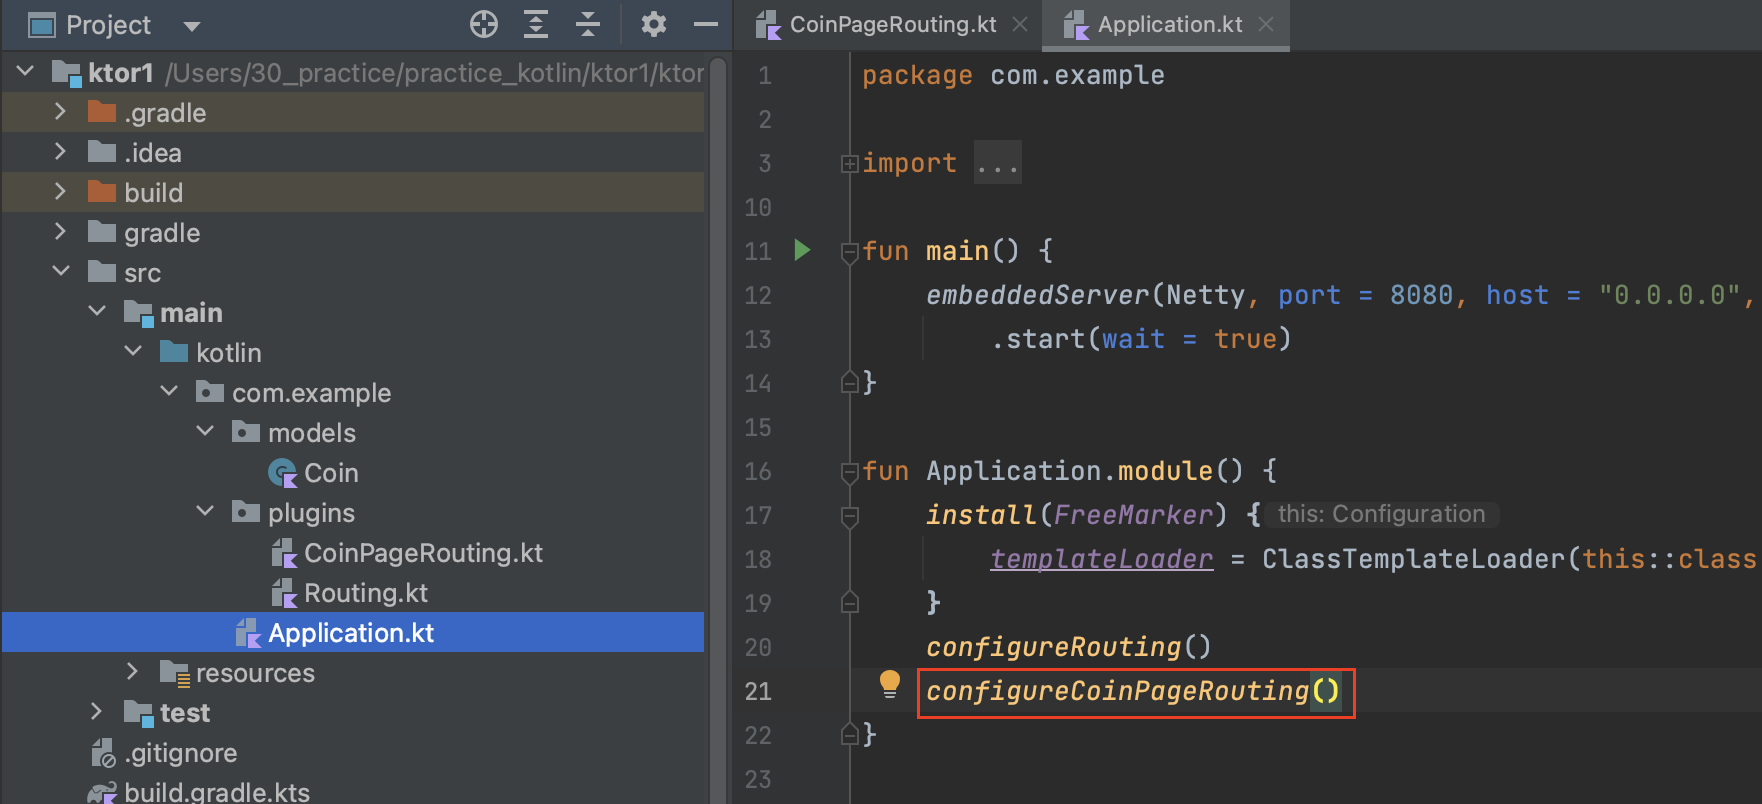
Application.kt
先ほど実装したコントローラの処理を定義します。
fun Application.module() {
    install(FreeMarker) {
        templateLoader = ClassTemplateLoader(this::class.java.classLoader, "templates")
    }
    configureRouting()
    configureCoinPageRouting() // 追加
}
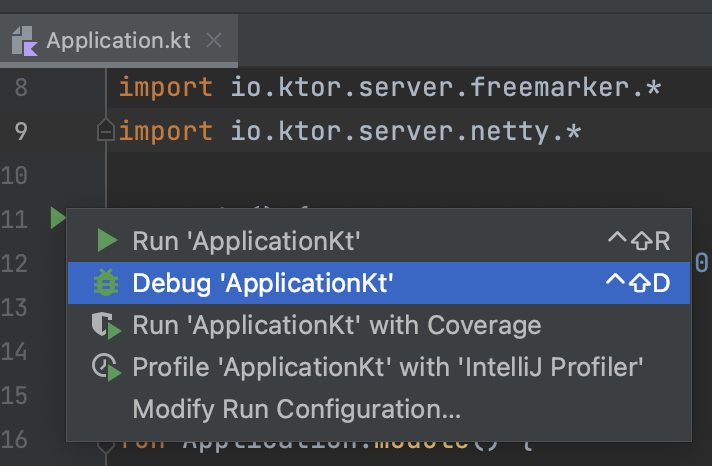
挙動確認
RunかDebug実行して挙動確認します。
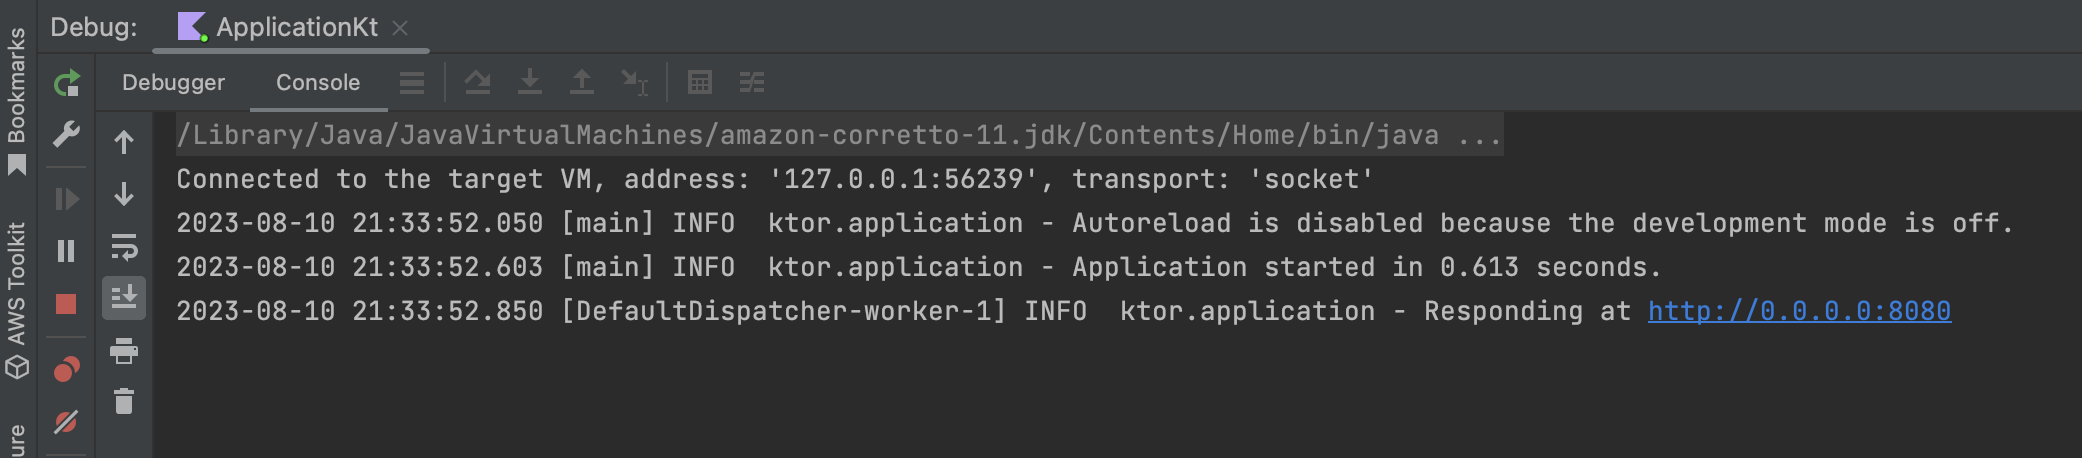
起動したらWebブラウザで以下にアクセスします。
http://localhost:8080/inputForm
画面が表示されたら選択と入力を行い、送信ボタンをクリックしてみます。
選択内容などの結果が表示されれば、正常に動作しています。
今回のメモは以上となります。
他のWebフレームワークと同様に、
小規模なWebページやAPIであれば簡単に実装できそうです。
バリデーションや悪意あるアクセスに対応するルーティング対応など、
こちらのメモに含まれていない調整を行う必要はあると思いますが、
Ktorもシンプルに実装できて良いと思います。