今回は、React.jsでHelloWorldを表示させるメモとなります。
基本的には、公式のDocsを参考にした内容となります。
公開されているCDNや、モジュールをダウンロードして読み込むのではなく、
npmコマンドで、ディレクトリにReact.jsをインストールして利用してみます。
また、前提としてnode.js、npm、yarn、VSCodeなどのエディタを、
動作可能な環境での実施となります。
https://yarnpkg.com/cli/install
目次
環境
・OS:mac OS Big Sur 11.5.2
・VSCode:1.62.0 Microsoft Visual Studio Code
・node.js:v16.11.0
・npm:8.0.0
・yarn:1.22.15
事前準備
まずは、React.jsを動作させるプロジェクトのディレクトリを作成します。
今回は、以下をプロジェクトのディレクトリとします。
プロジェクトのディレクトリで、
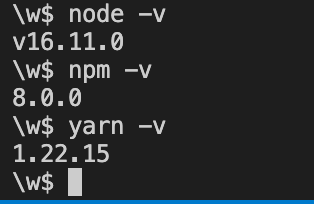
node、npm、yarnが動作することを事前に確認しておきます。
プロジェクト作成 React.js インストール
以下のコマンドで、React.jsのプロジェクトを作成します。
npm init react-app 任意のプロジェクト名
今回のメモでは、hello-appとして作成します。
npm init react-app hello-app尚、npxを利用可能であれば、
npx create-react-app 任意のプロジェクト名でも良いそうです。
※npxは、npmバージョン5.2からnpmに同梱されているツールのようです。
npx create-react-app hello-appコマンドを実行すると、実行確認が行われるので y を入力後、エンターキーを押して実行します。
プロジェクトが生成されると、
yarnを利用した、開発サーバーの起動コマンドなどの説明などが表示されます。
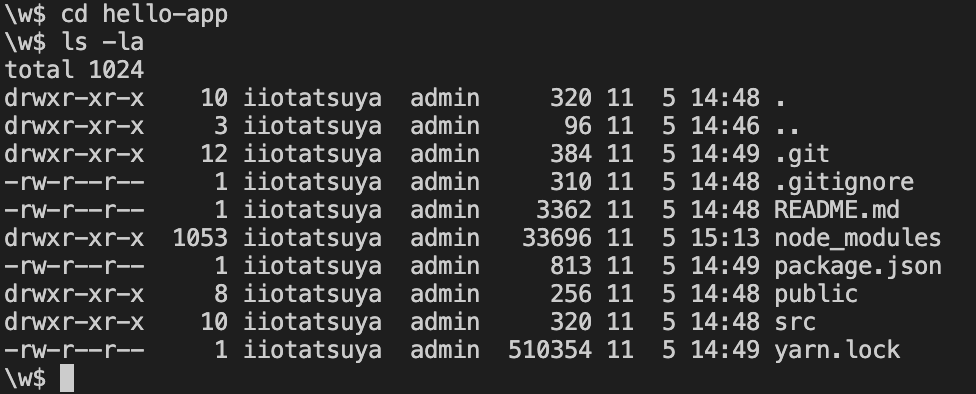
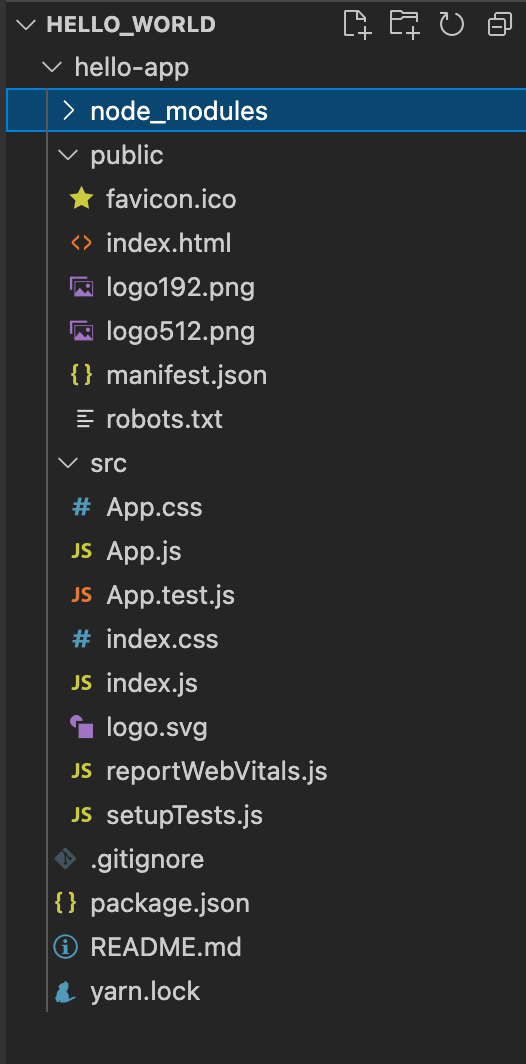
正常にプロジェクトが生成されると、指定した文字列のプロジェクトフォルダが作成されます。
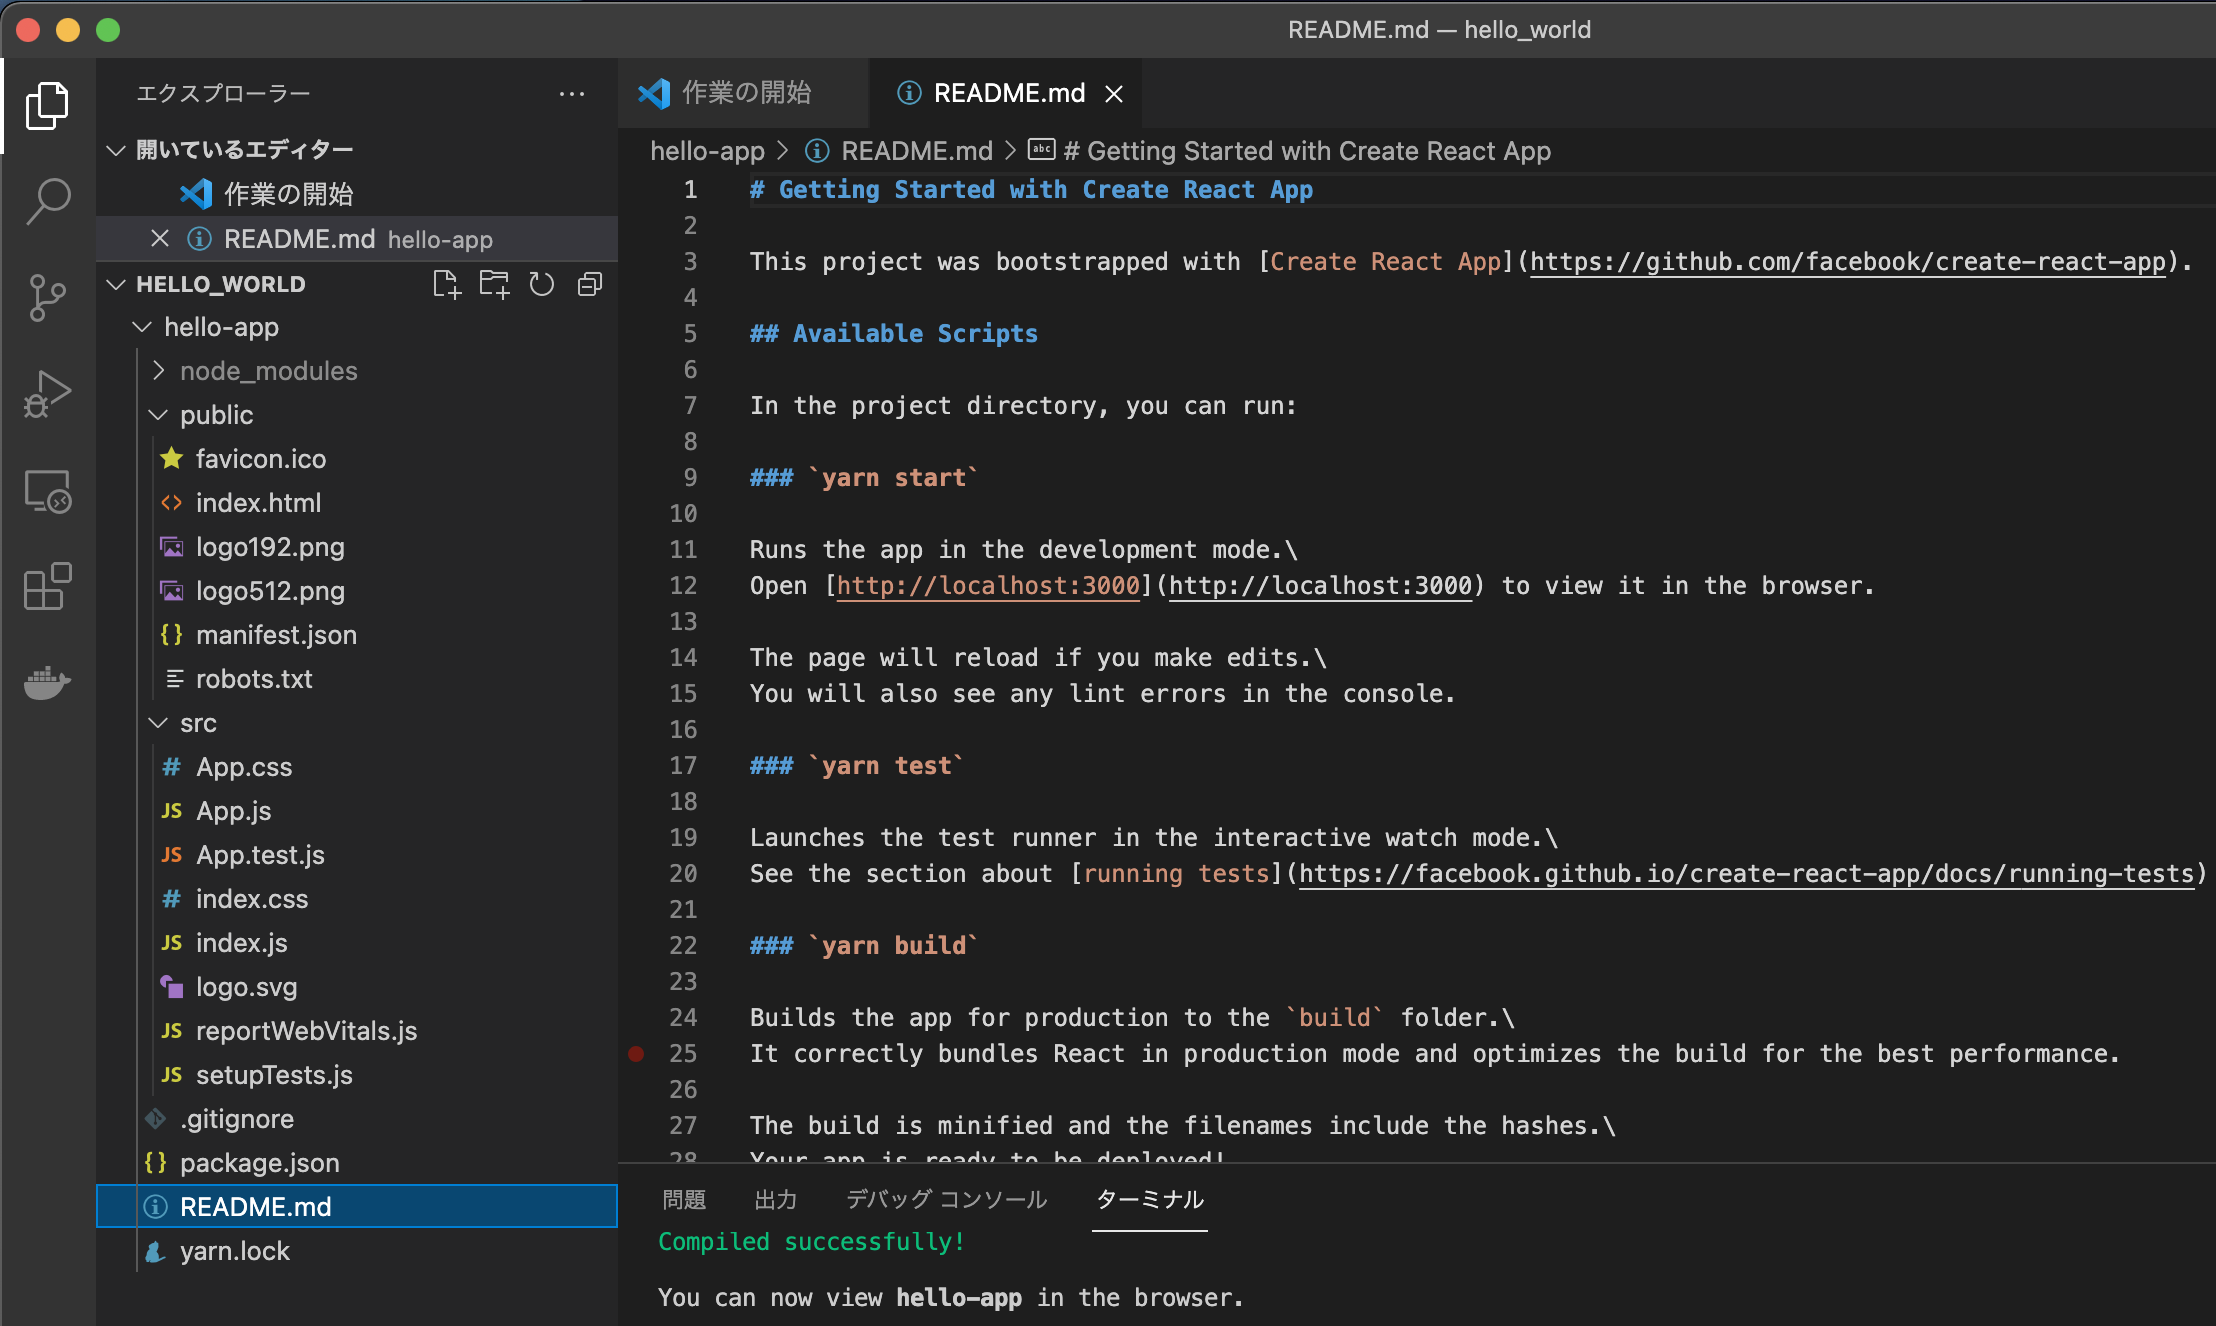
プロジェクトフォルダには、README.mdなど以下が自動生成されています。
プロジェクト作成 エラー
※2022/5/10追記
こちらのメモを作成した後、少ししてから再度プロジェクトを作成しようとしたところ、
以下のエラーとなりました。対応した方法をメモしたいと思います。
Need to install the following packages:
create-react-app
Ok to proceed? (y) y

You are running `create-react-app` 4.0.3, which is behind the latest release (5.0.1).

We no longer support global installation of Create React App.

Please remove any global installs with one of the following commands:
- npm uninstall -g create-react-app
- yarn global remove create-react-app

The latest instructions for creating a new app can be found here:
https://create-react-app.dev/docs/getting-started/

npm ERR! code 1
npm ERR! path /Users/30_practice/practice_reactjs/p1
npm ERR! command failed
npm ERR! command sh -c create-react-app "p1"

npm ERR! A complete log of this run can be found in:
npm ERR! /Users/.npm/_logs/2022-05-09T14_39_53_326Z-debug-0.log
エラー内容を確認すると、
React Appのグローバルインストールが非推奨になった為、以下のいずれかを実行してください。と表示されていました。
– npm uninstall -g create-react-app
– yarn global remove create-react-app
今回は、npmで実施してみました。
npm uninstall -g create-react-appしかし、それでもエラーが解消されなかった為、
念の為、npmのキャッシュ削除&リフレッシュを行ってからnpm init react-appを実行すると正常に生成されました。
・npm 強制キャッシュ削除
npm cache clean --force・npm, node_modules削除
rm -rf ~/.npmrm -rf node_modulesローカルサーバー起動
基本的な動作に必要なファイルは自動的に用意されているので、
念のため、React.jsが正常に動作するか確認を行います。
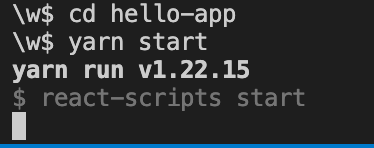
ターミナル等で、プロジェクトディレクトリに移動した後、
yarnコマンドで、開発サーバーを起動します。
cd hello-app
yarn start
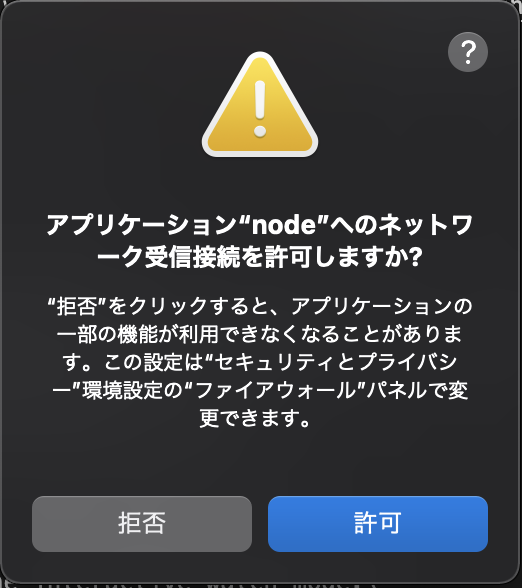
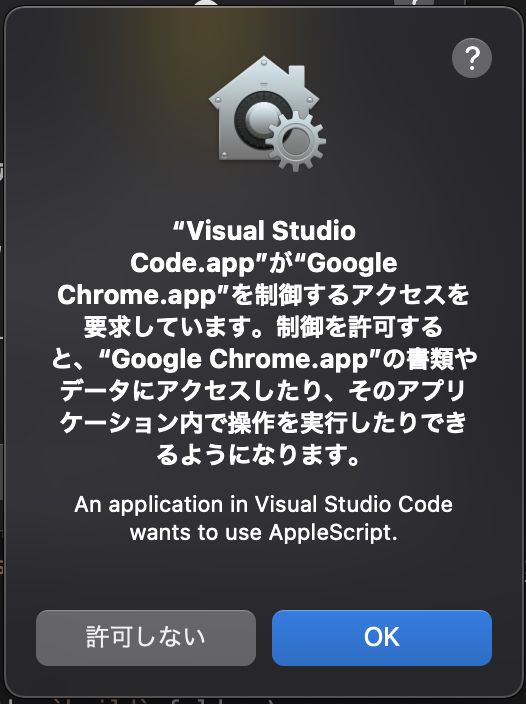
初めて起動する場合、以下の様なメッセージが表示されるかもしれません。
表示された場合、許可を行います。
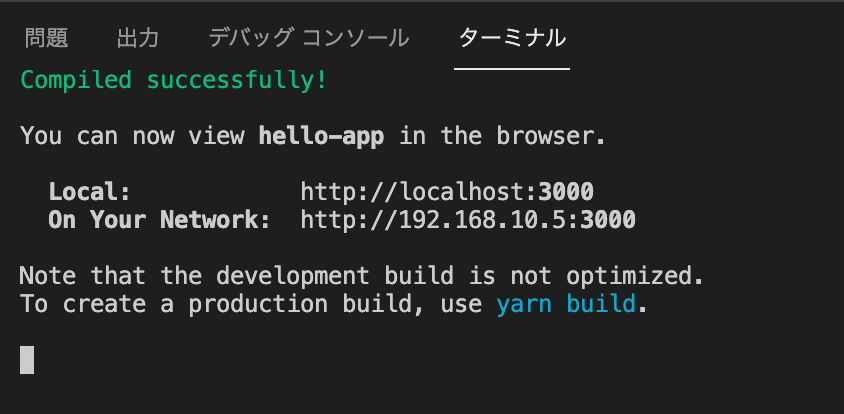
正常に起動した場合、起動したサーバーのURLが表示されます。
URLを元に、ブラウザでアクセスします。
http://localhost:3000/
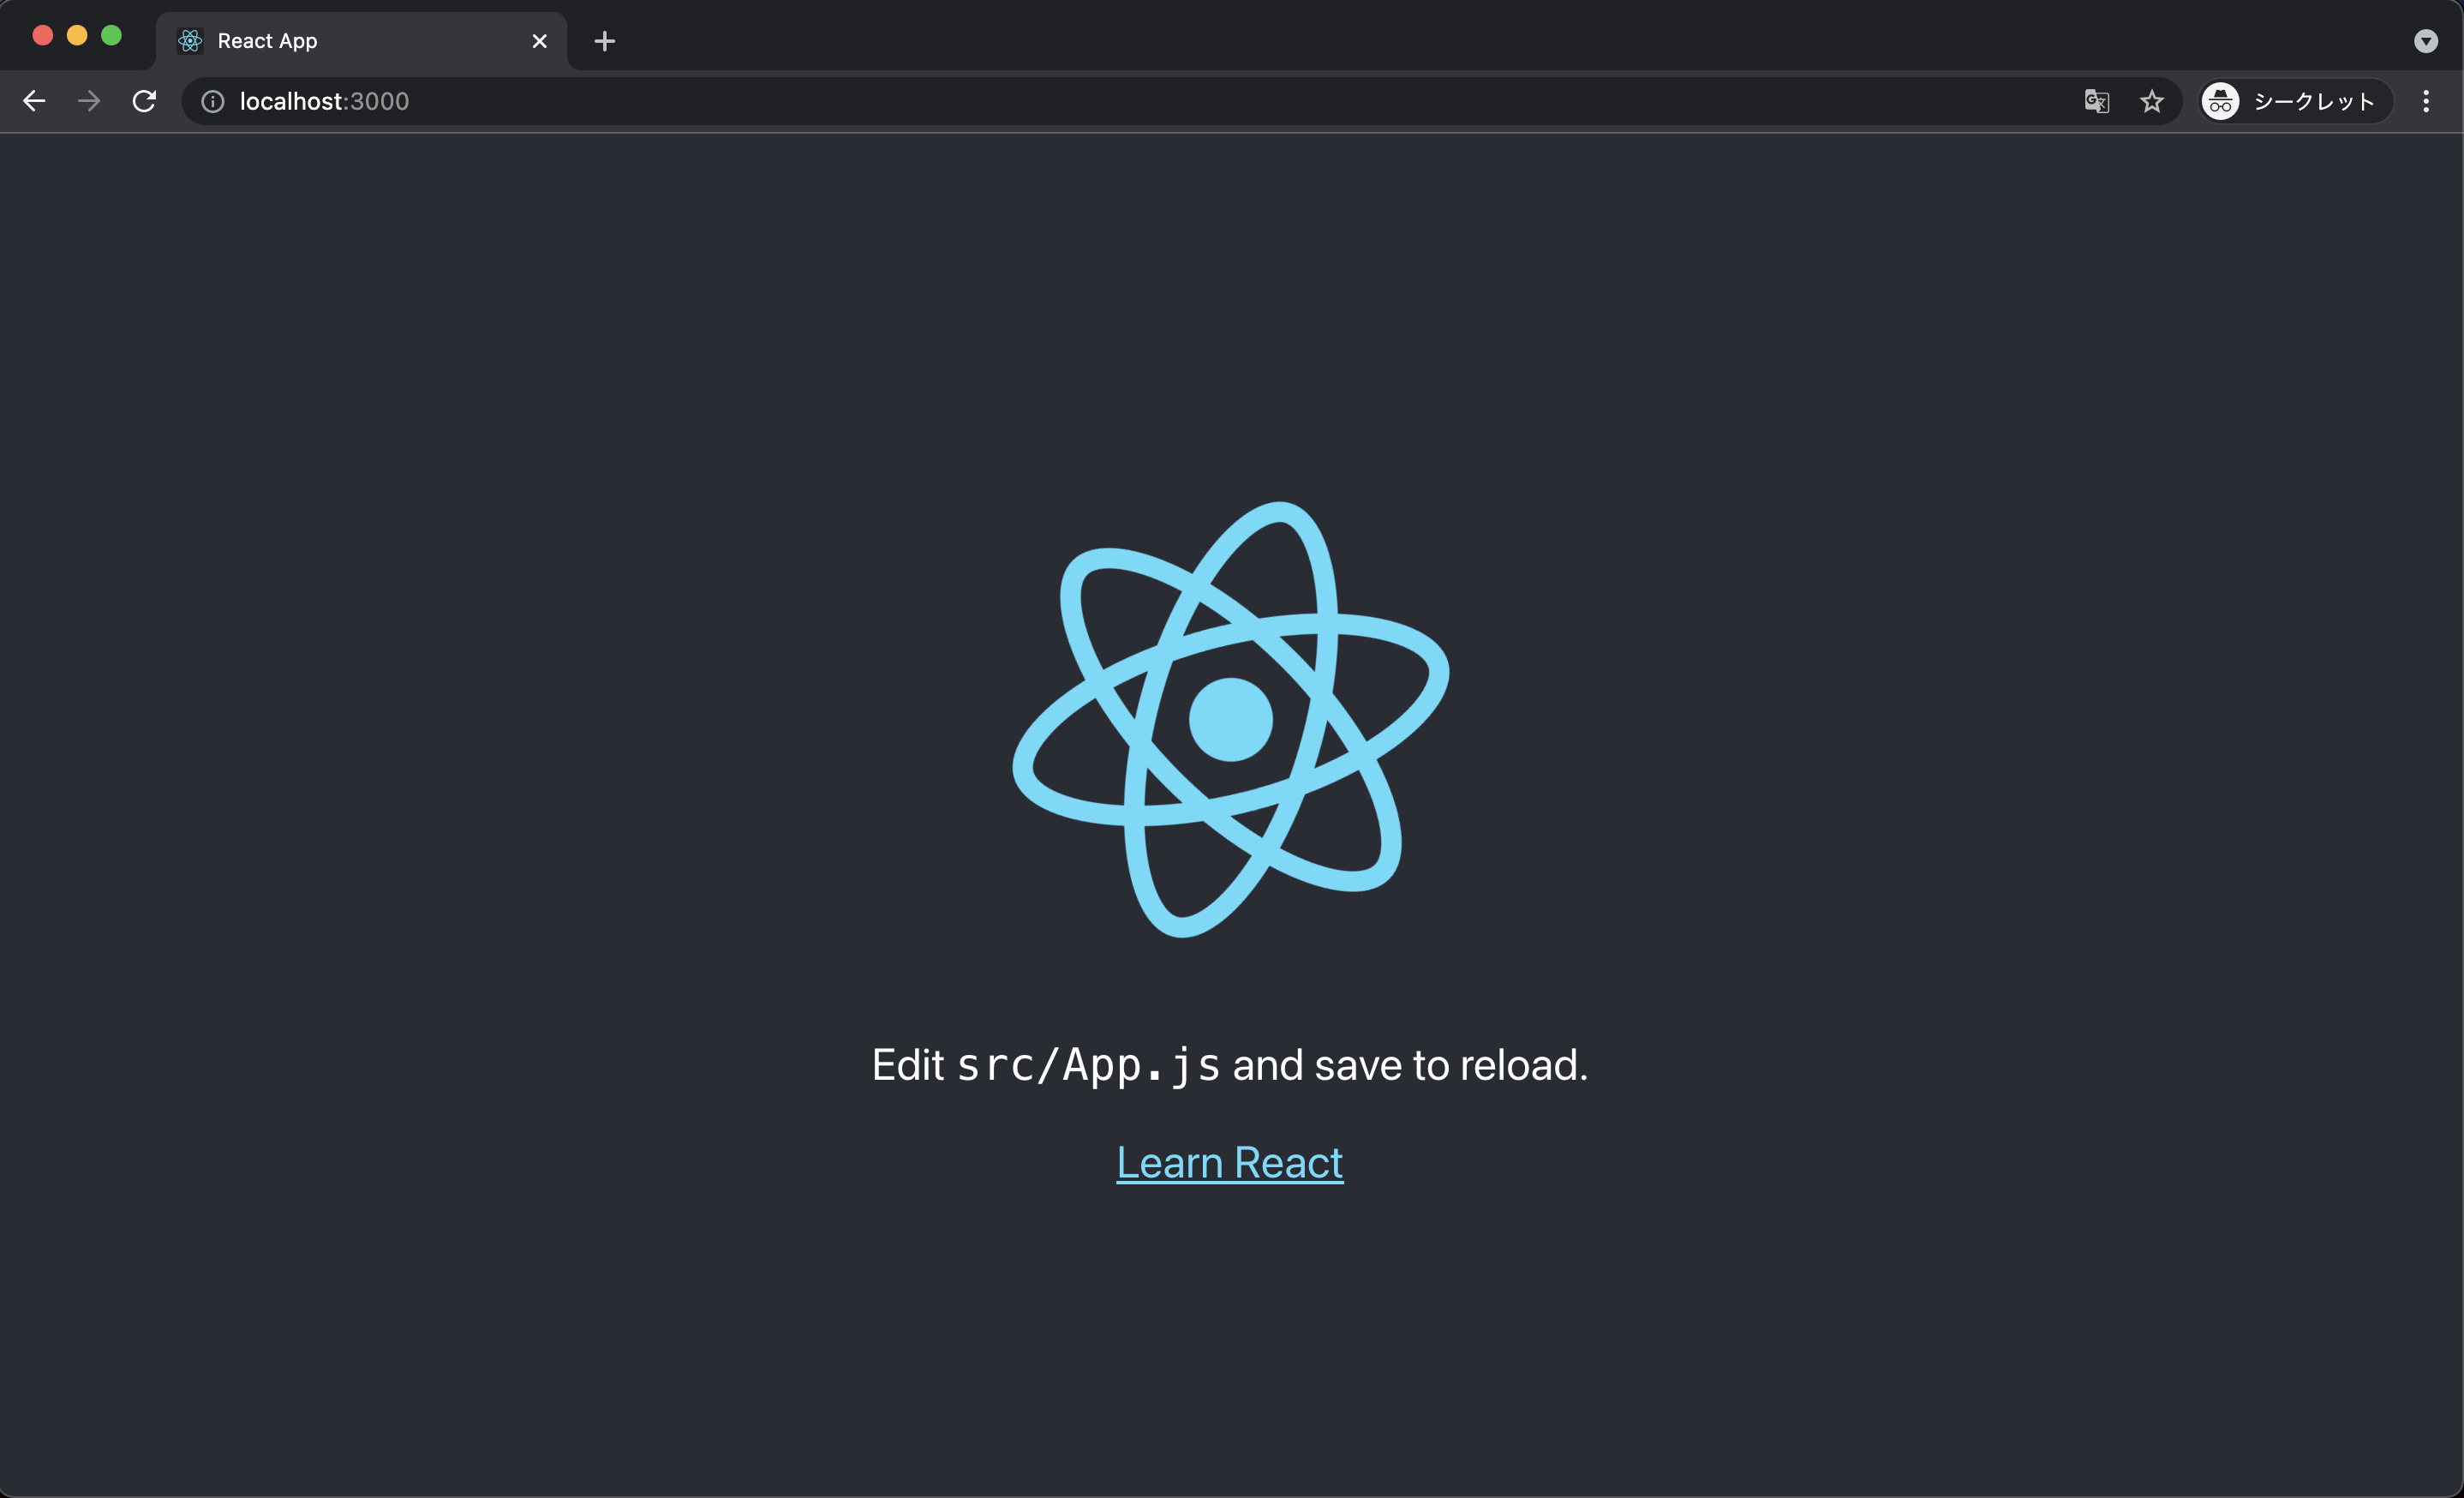
React.jsのマークが回転しているページが表示されれば、正常に起動しています。
※停止する際には、control + c コマンドや、プロセスを直接killして停止させます。
Hello World 表示 実装
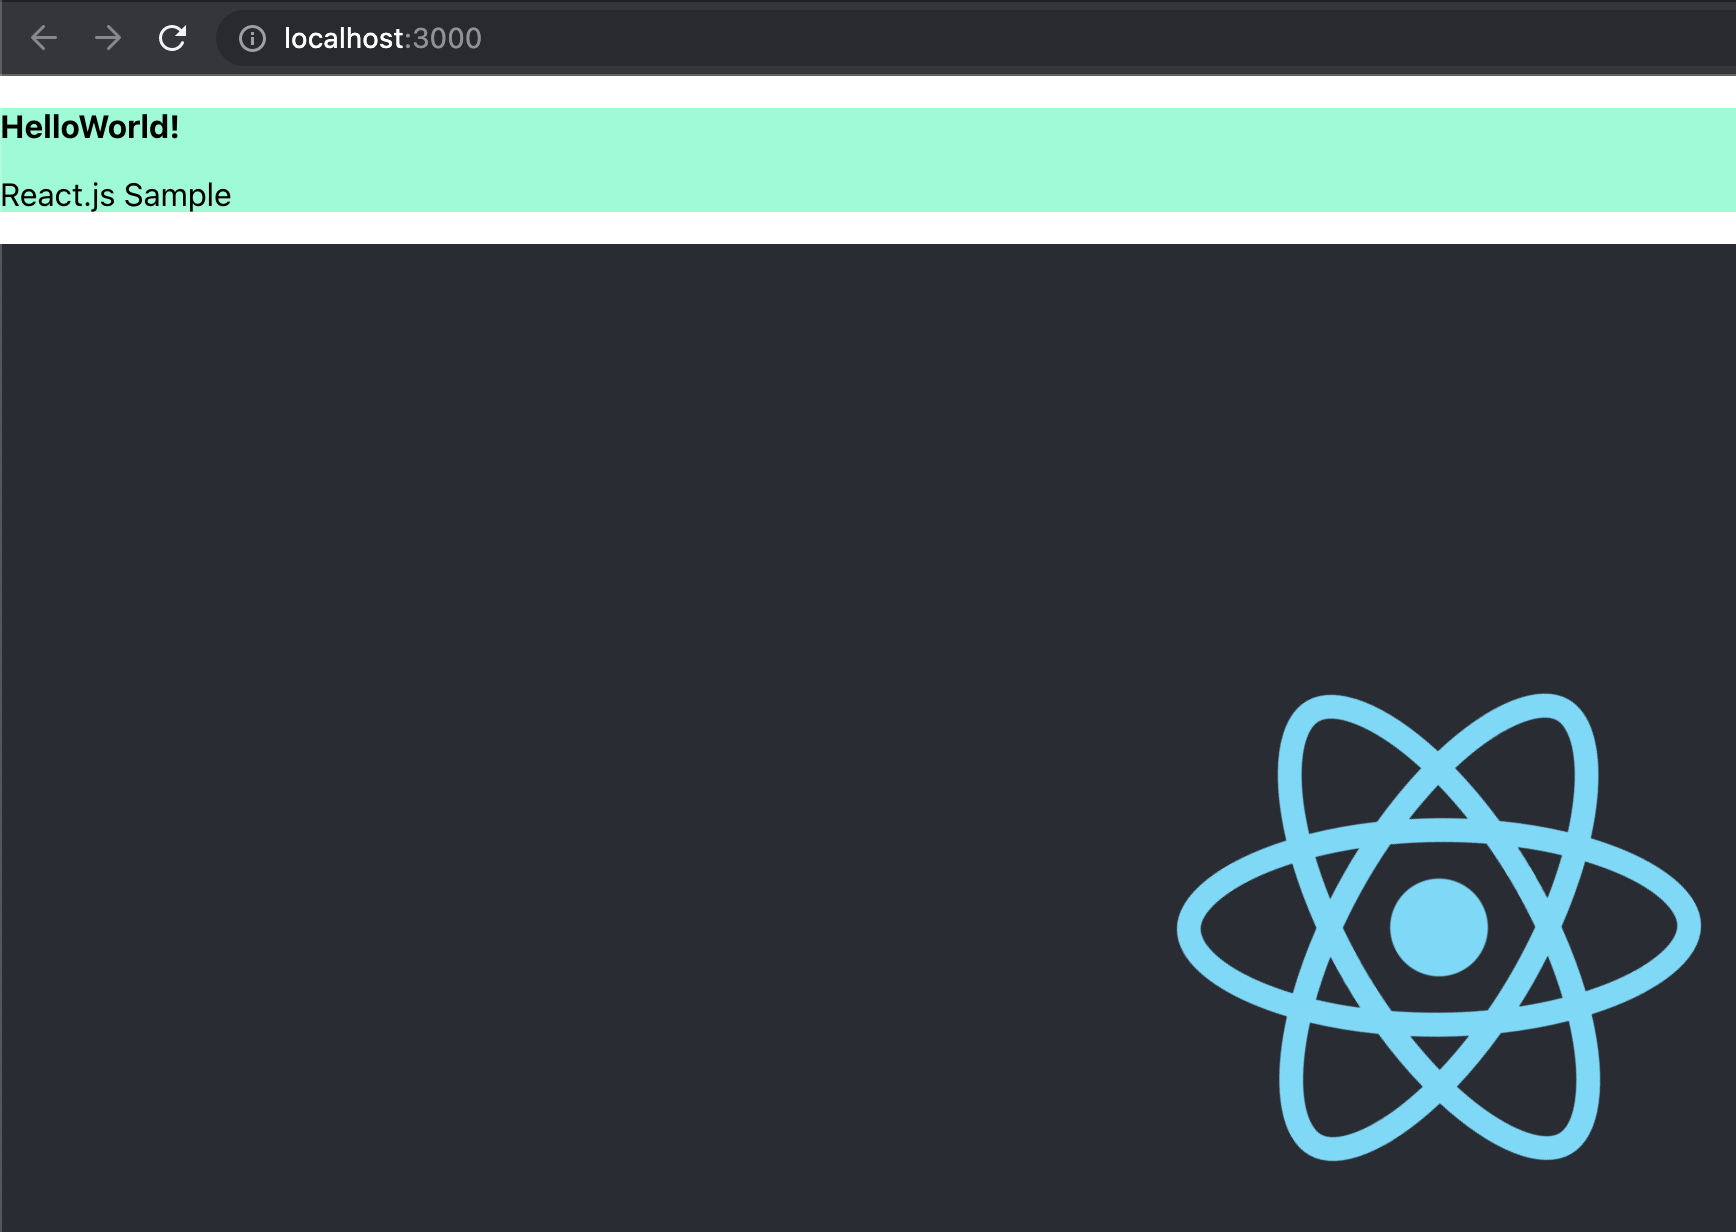
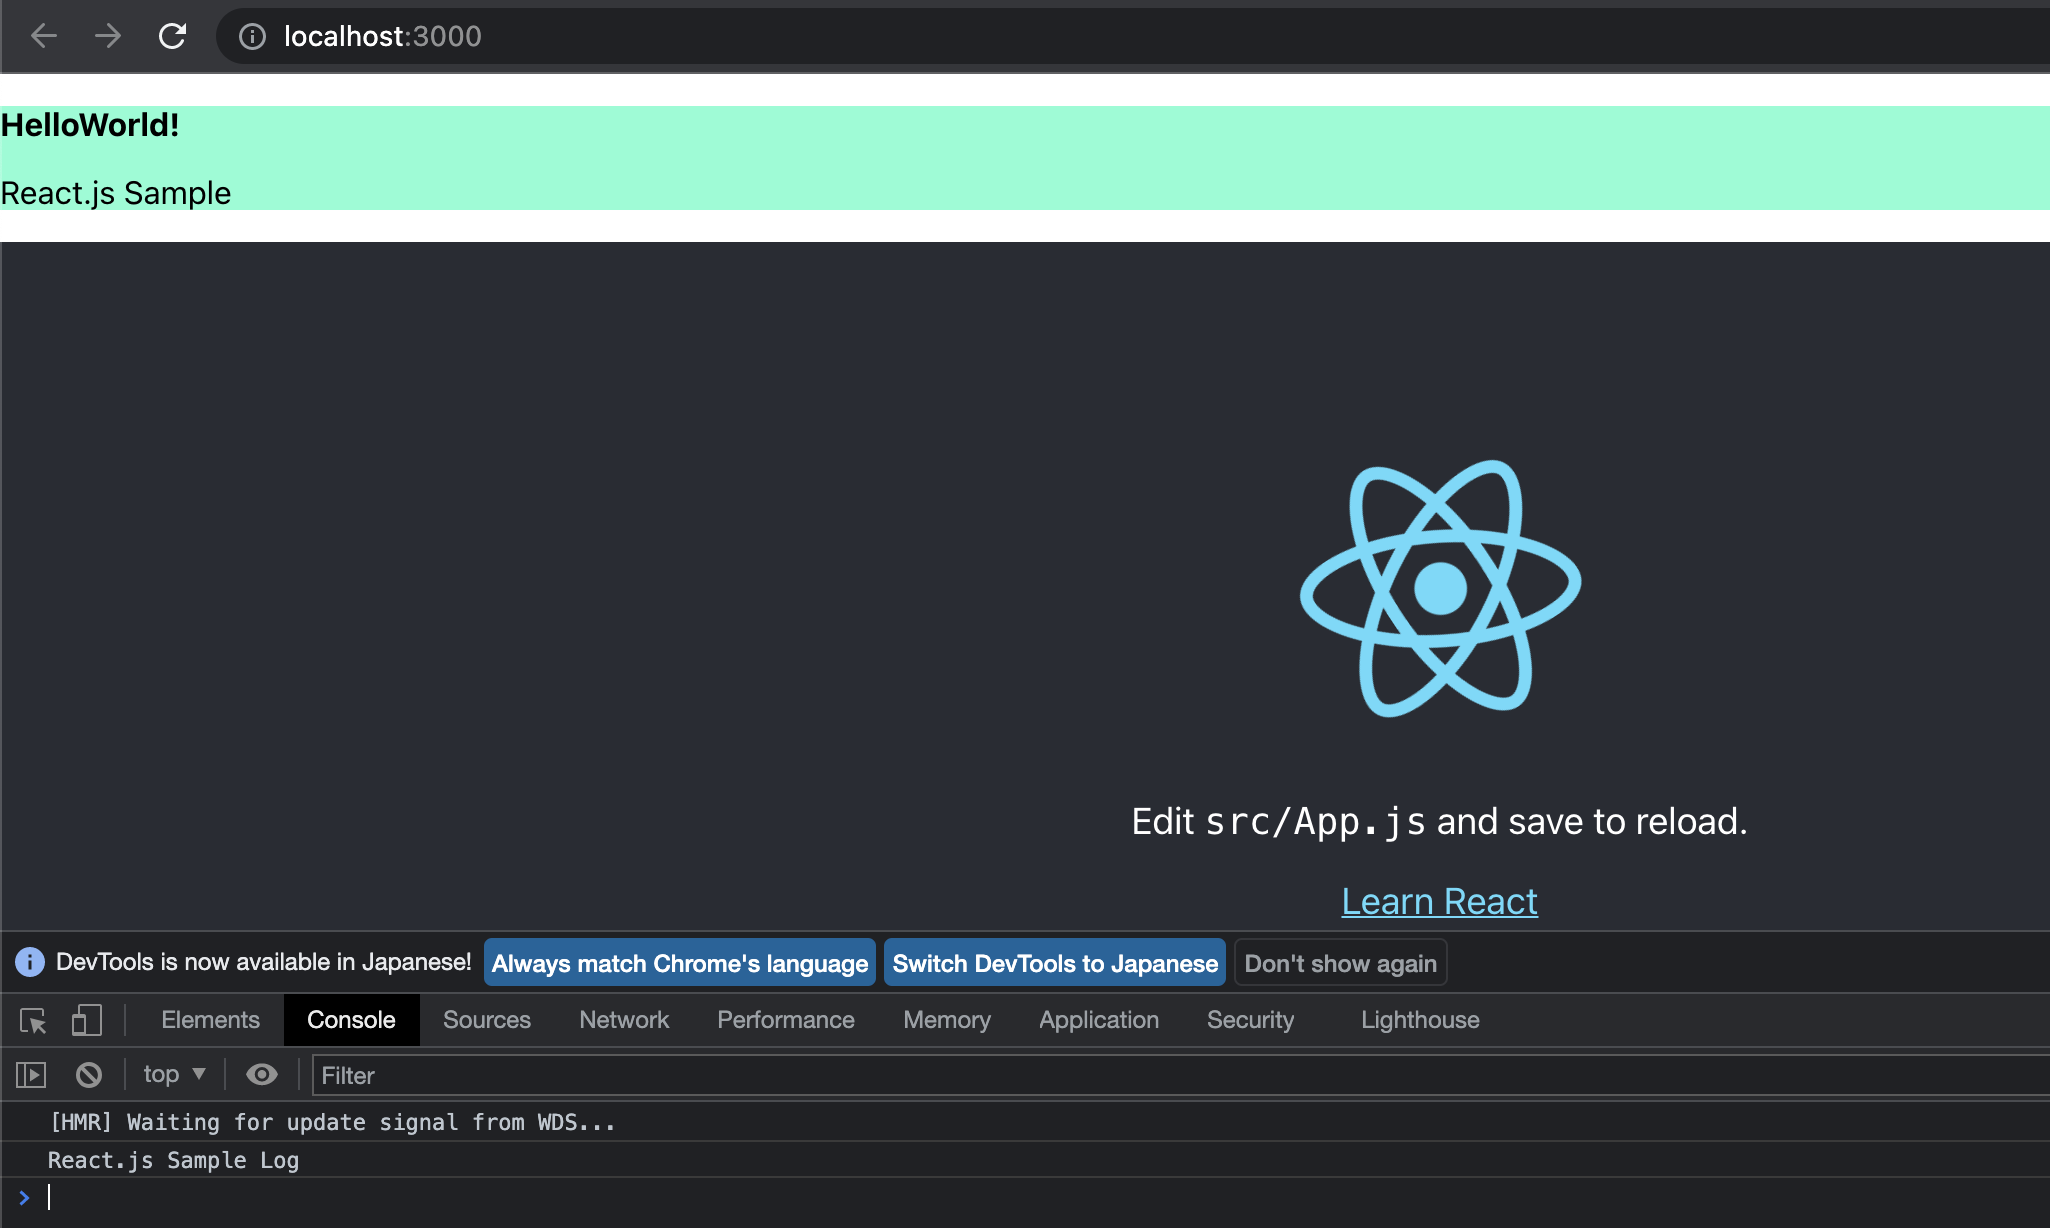
今回は、React.jsのマークの上部に、HelloWorldの文字を表示し、
ブラウザ開発者ツールのConsoleログにも、HelloWorldの文字を出力してみたいと思います。
・index.html 修正
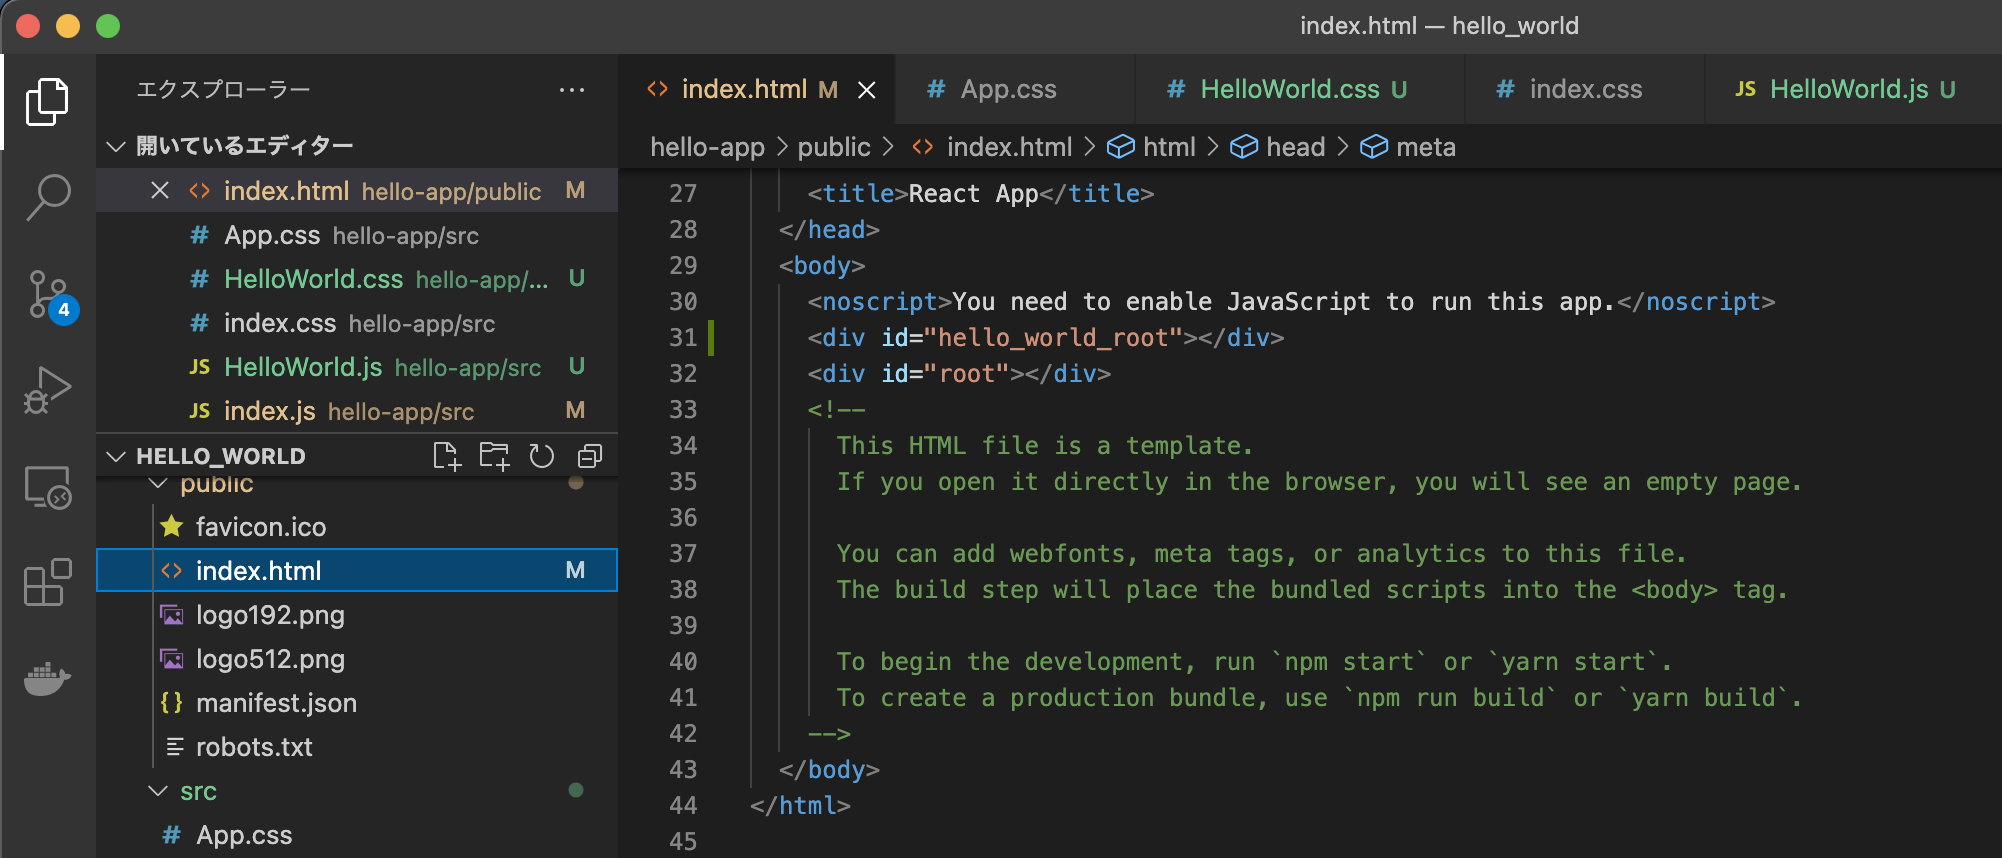
まず、index.htmlを修正します。
index.htmlは、React.jsのマークが表示されているページです。
<div id="root"></div>を土台に、React.jsのマークが表示されているので、
その上に、HelloWorldを表示させる土台となる<div id="hello_world_root"></div>を追加します。
<body>
<noscript>You need to enable JavaScript to run this app.</noscript>
<div id="hello_world_root"></div>
<div id="root"></div>
index.html 修正後
<!DOCTYPE html>
<html lang="en">
<head>
<meta charset="utf-8" />
<link rel="icon" href="%PUBLIC_URL%/favicon.ico" />
<meta name="viewport" content="width=device-width, initial-scale=1" />
<meta name="theme-color" content="#000000" />
<meta
name="description"
content="Web site created using create-react-app"
/>
<link rel="apple-touch-icon" href="%PUBLIC_URL%/logo192.png" />
<!--
manifest.json provides metadata used when your web app is installed on a
user's mobile device or desktop. See https://developers.google.com/web/fundamentals/web-app-manifest/
-->
<link rel="manifest" href="%PUBLIC_URL%/manifest.json" />
<!--
Notice the use of %PUBLIC_URL% in the tags above.
It will be replaced with the URL of the `public` folder during the build.
Only files inside the `public` folder can be referenced from the HTML.


Unlike "/favicon.ico" or "favicon.ico", "%PUBLIC_URL%/favicon.ico" will
work correctly both with client-side routing and a non-root public URL.
Learn how to configure a non-root public URL by running `npm run build`.
-->
<title>React App</title>
</head>
<body>
<noscript>You need to enable JavaScript to run this app.</noscript>
<div id="hello_world_root"></div>
<div id="root"></div>
<!--
This HTML file is a template.
If you open it directly in the browser, you will see an empty page.


You can add webfonts, meta tags, or analytics to this file.
The build step will place the bundled scripts into the <body> tag.


To begin the development, run `npm start` or `yarn start`.
To create a production bundle, use `npm run build` or `yarn build`.
-->
</body>
</html>
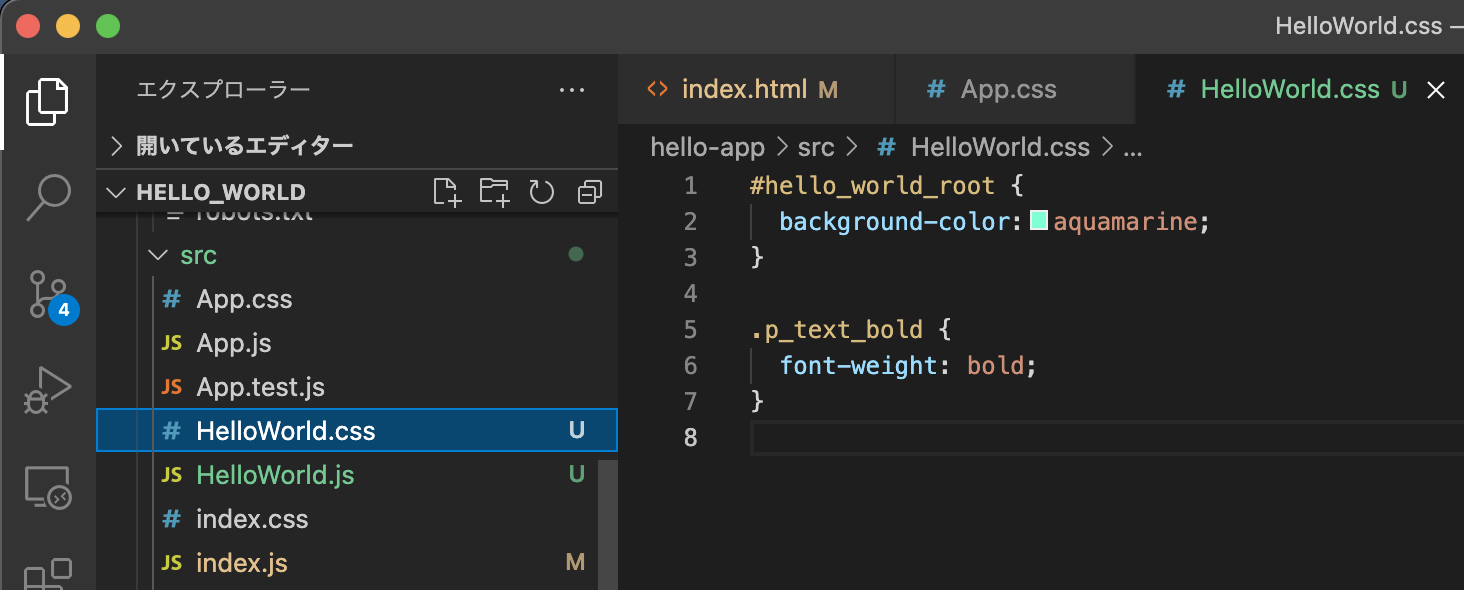
・cssファイル (HelloWorld.css) 作成
HelloWorldの表示を調整するcss styleを作成します。
#hello_world_root {
  background-color:aquamarine;
}

.p_text_bold {
  font-weight: bold;
}
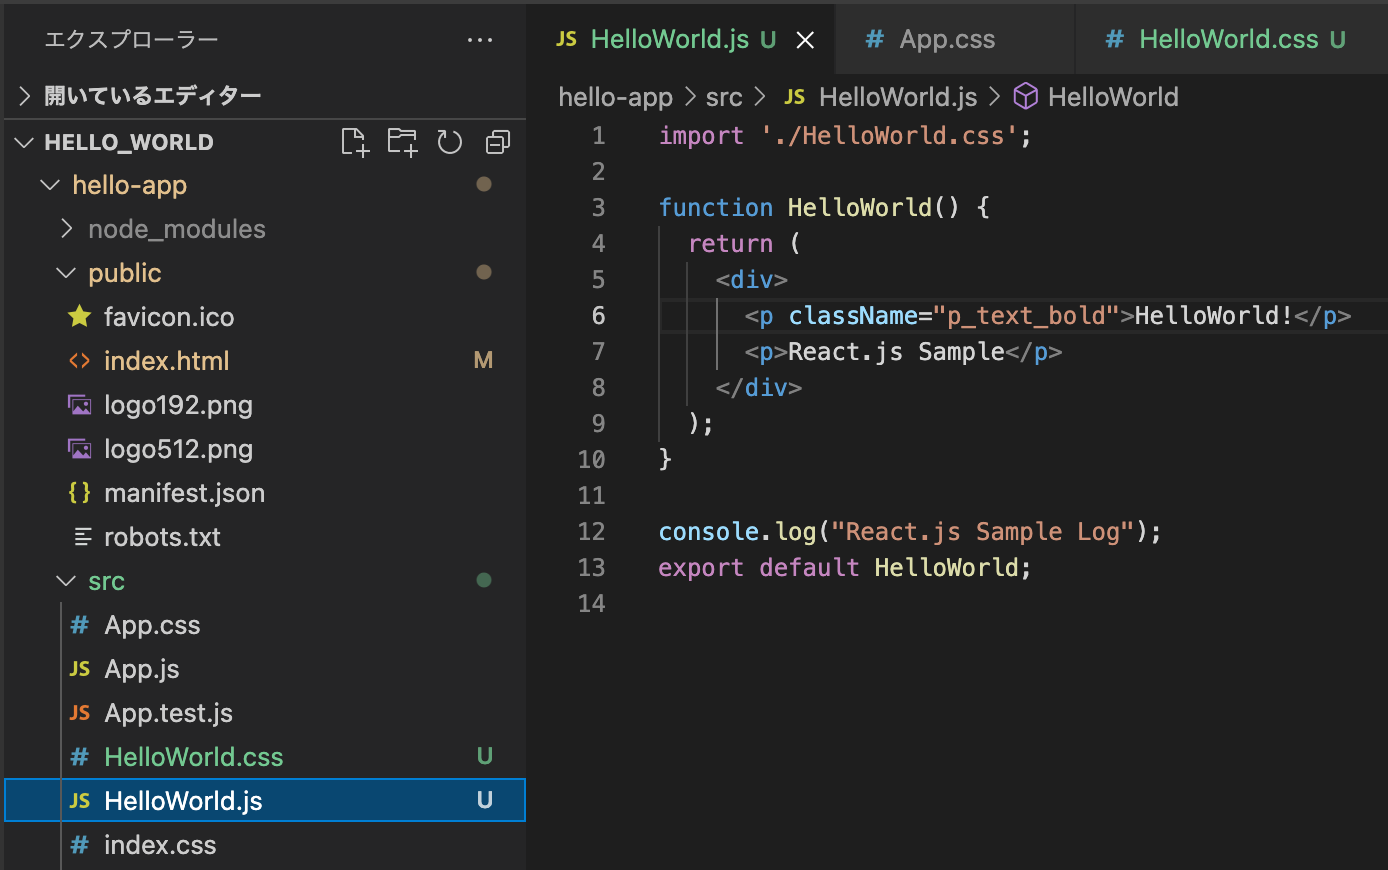
・関数コンポーネント HelloWorld.js 作成
HelloWorld文言表示用のタグを、返却するコンポーネントを実装します。
// 作成済みのcss styleを適用するためにimport
import './HelloWorld.css';

function HelloWorld() {
  return (
    <div>
      <p className="p_text_bold">HelloWorld!</p>
      <p>React.js Sample</p>
    </div>
  );
}

// ログ出力
console.log("React.js Sample Log");
export default HelloWorld;
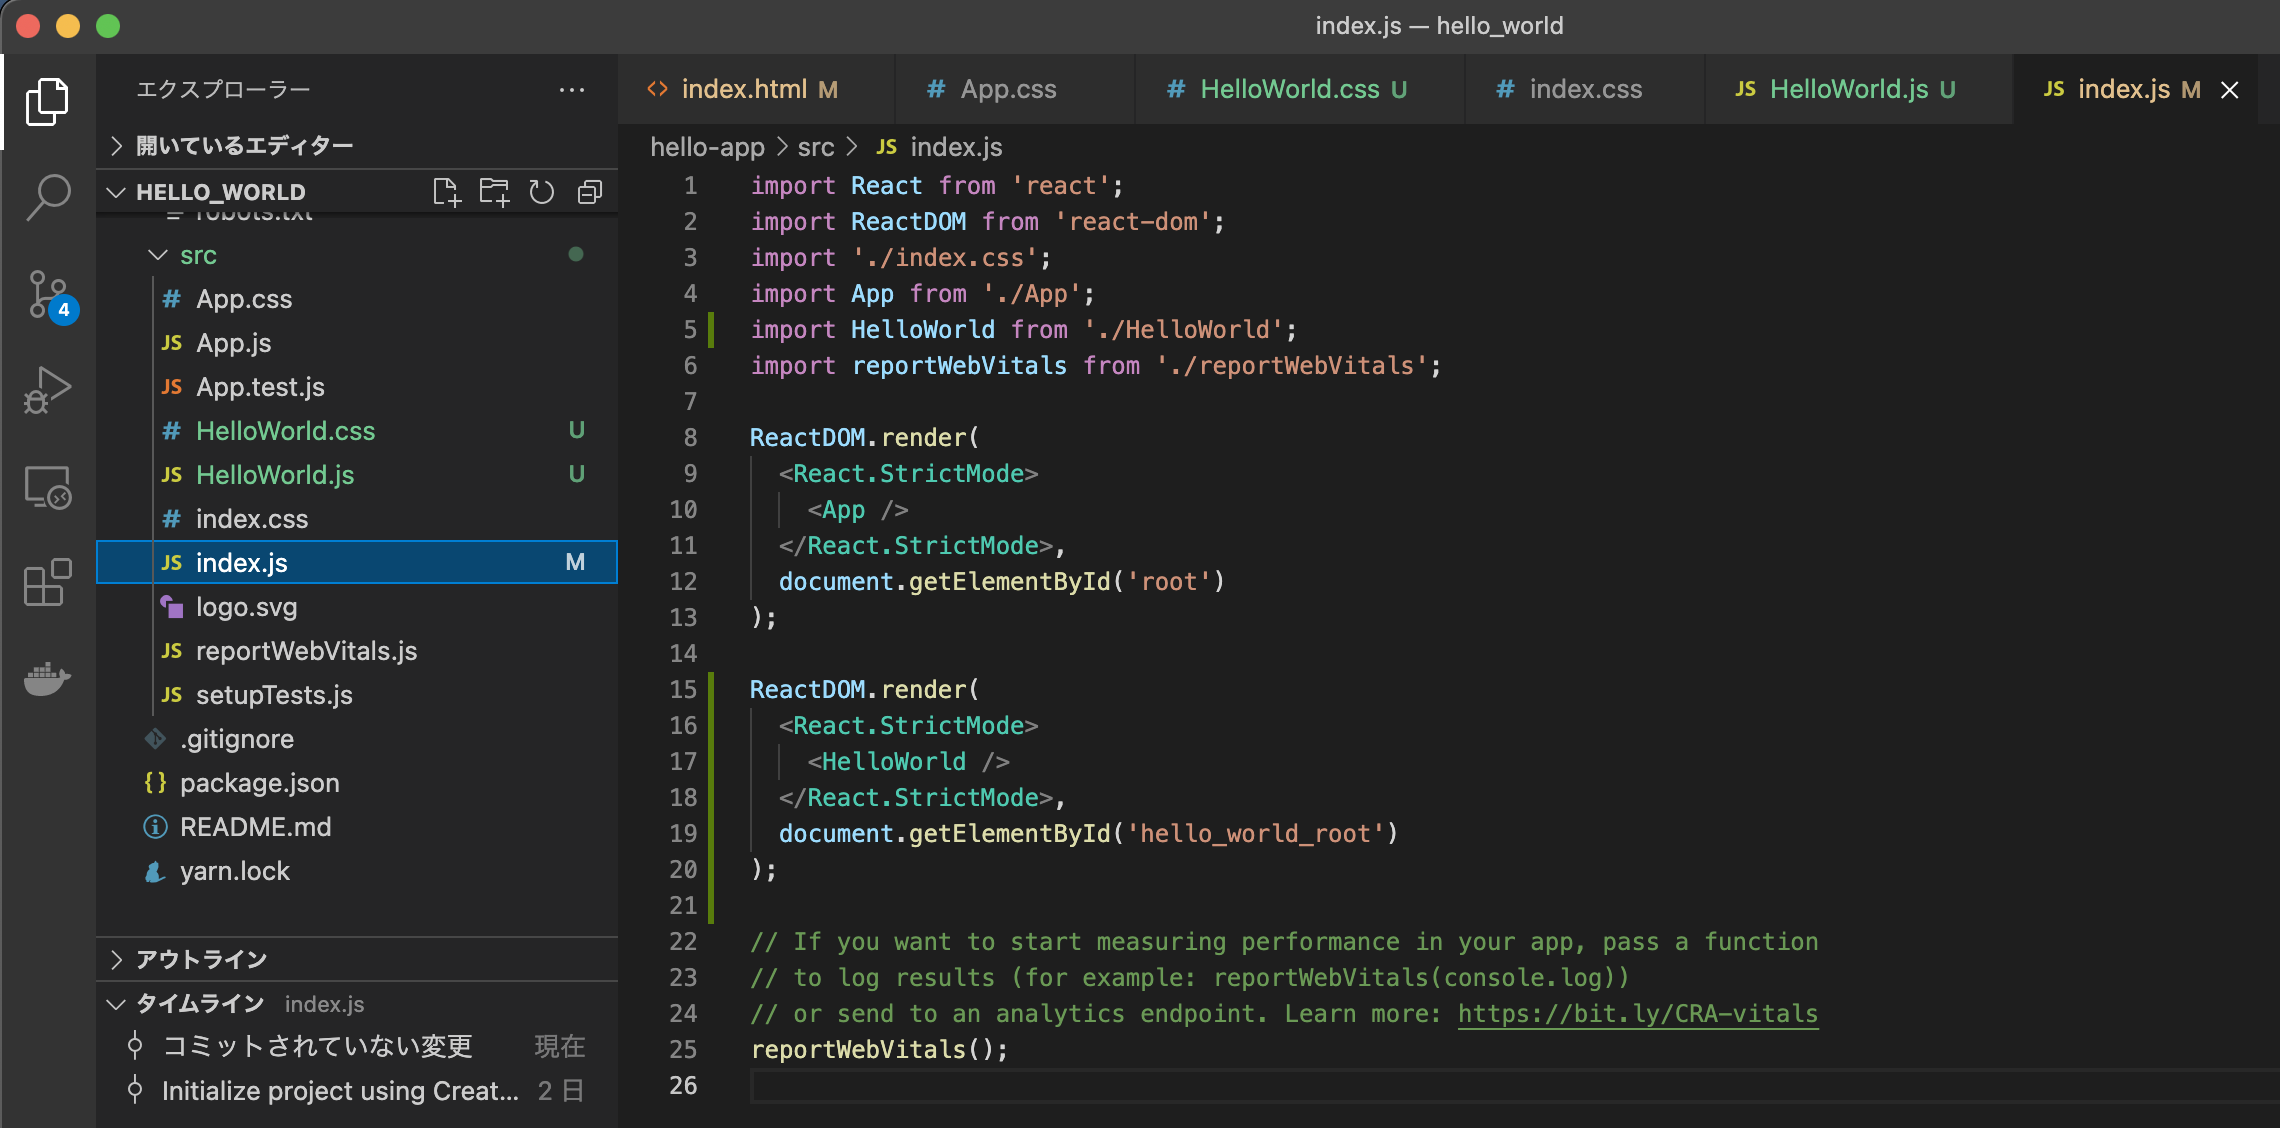
・index.js 修正
次に、index.jsの<div id="hello_world_root"></div>に、
HelloWorld表示用タグをレンダリング(表示)する為の処理を追加します。
HelloWorld.jsを利用するためにインポート文を追加します。
import HelloWorld from './HelloWorld';
また、レンダリングする為の処理を追加します。
ReactDOM.render(

<React.StrictMode>

<HelloWorld />

</React.StrictMode>,

document.getElementById('hello_world_root')

);
index.js 修正後
import React from 'react';
import ReactDOM from 'react-dom';
import './index.css';
import App from './App';
import HelloWorld from './HelloWorld';
import reportWebVitals from './reportWebVitals';

ReactDOM.render(
  <React.StrictMode>
    <App />
  </React.StrictMode>,
  document.getElementById('root')
);

ReactDOM.render(
  <React.StrictMode>
    <HelloWorld />
  </React.StrictMode>,
  document.getElementById('hello_world_root')
);

// If you want to start measuring performance in your app, pass a function
// to log results (for example: reportWebVitals(console.log))
// or send to an analytics endpoint. Learn more: https://bit.ly/CRA-vitals
reportWebVitals();
・挙動確認
作成・修正が終わったら、再度開発サーバーを起動して挙動確認を行います。
yarn starthttp://localhost:3000/
今回のメモは以上となります。
React.jsは、国内外で多く利用されていますので、
利用されているプロジェクトに関わる機会は多いと思いますので、
私も少しづつキャッチアップしていきたいと思います。
