今回は、SpringBootでメール送信を実装するメモです。
Thymeleafとテキストファイルをテンプレートとしてメールの雛形にします。
※2024/12/28更新
サンプルコードのインデント誤り等を修正
また、メールにはHTML・TEXTと形式があると思いますが、
1通のメール送信で、両形式に対応したメール送信を行います。
SpringBootの基本的な内容は、以下の試したプロジェクトとほぼ同じ内容です。
試した際も追記する形で試してみました。
環境
- macOS:Big Sur 11.5.2
- IntelliJ(Ultimate Edition):2023.1
- MailHog:1.0.1
Gradle 設定ファイル
・build.gradle
plugins {
    id 'java'
    id 'org.springframework.boot' version '3.1.0'
    id 'io.spring.dependency-management' version '1.1.0'
}

group = 'com.example'
version = '0.0.1-SNAPSHOT'
sourceCompatibility = '17'

repositories {
    mavenCentral()
}

dependencies {
    implementation 'org.springframework.boot:spring-boot-starter-mail'
    implementation 'org.springframework.boot:spring-boot-starter-web'
    implementation 'org.springframework.boot:spring-boot-starter-thymeleaf'
}

tasks.named('test') {
    useJUnitPlatform()
}
尚、実際にメール実装で利用しているのは、
spring-boot-starter-mail、spring-boot-starter-thymeleafです。
spring-boot-starter-webは、挙動確認の簡易API実装用として利用しています。
メールサーバー設定
ローカル開発環境で、メール送信テストを行うために、MailHogを利用しました。
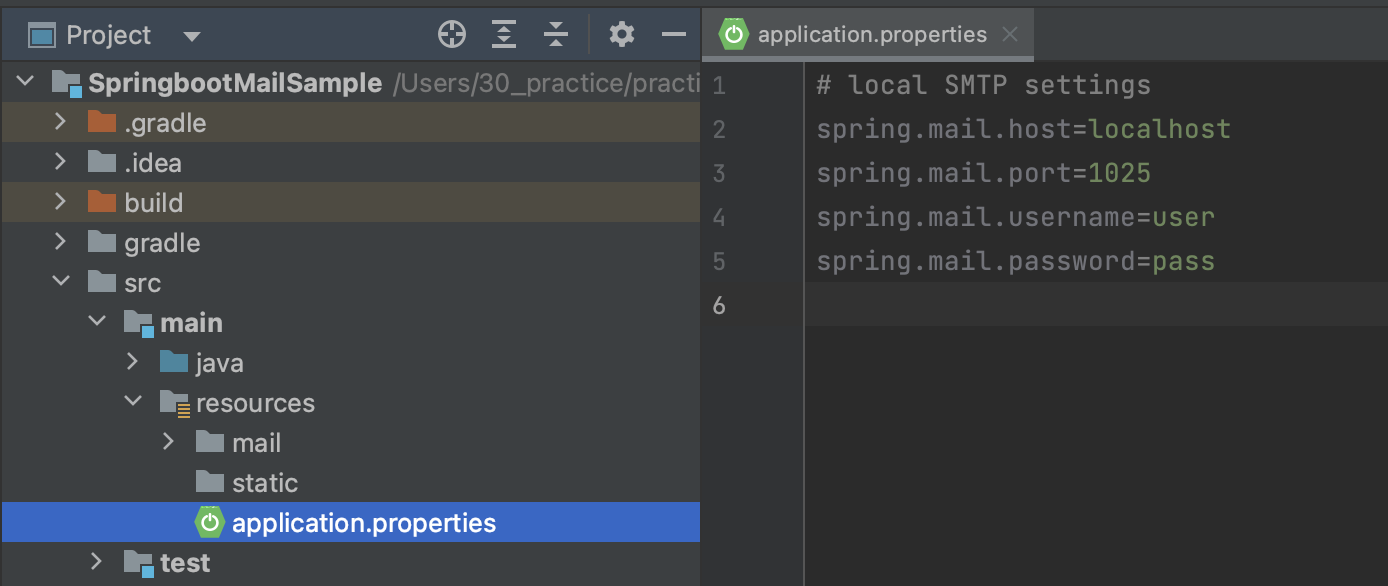
メールサーバーの設定は、MailHogのデフォルトのまま指定しています。
# local SMTP settings
spring.mail.host=localhost
spring.mail.port=1025
spring.mail.username=user
spring.mail.password=pass
MailHogについては、以下を参考にして頂ければと思います。
メール送信用テンプレート作成
今回は、HTML形式とTEXT形式の両方(計1通)でメール送信したいので、
HTMLメールとTEXTメールの両方の雛形を作成します。
・HTMLメール
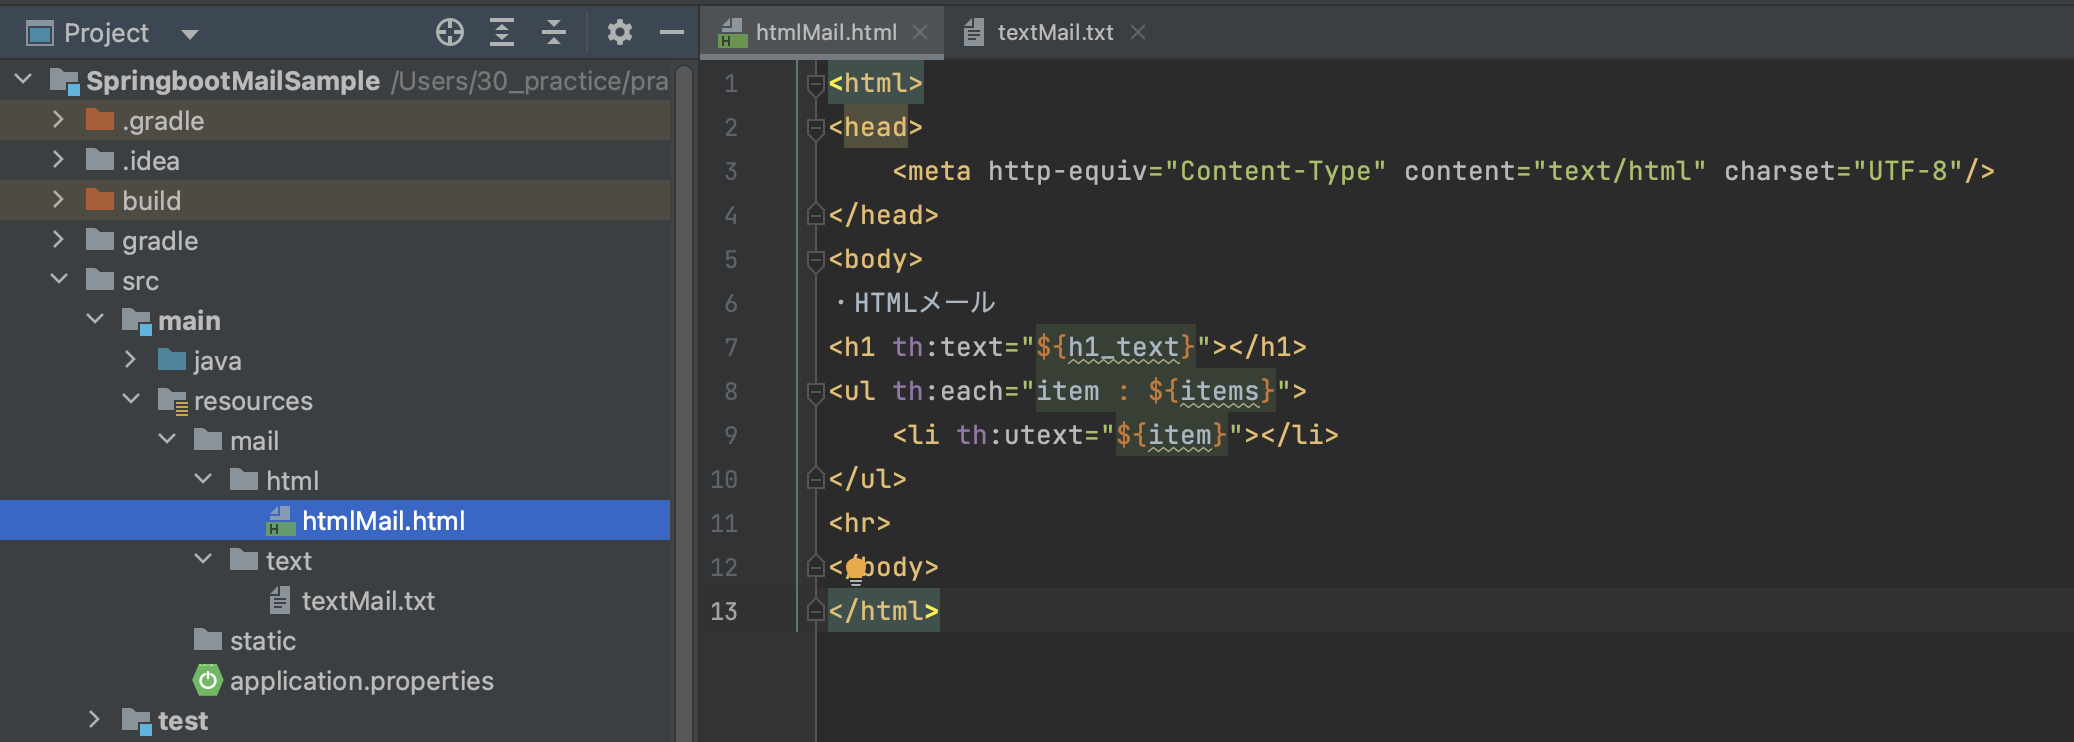
src/main/resources/mail/html/htmlMail.html
<html>
<head>
    <meta http-equiv="Content-Type" content="text/html" charset="UTF-8"/>
</head>
<body>
・HTMLメール
<h1 th:text="${h1_text}"></h1>
<ul th:each="item : ${items}">
    <li th:utext="${item}"></li>
</ul>
<hr>
</body>
</html>
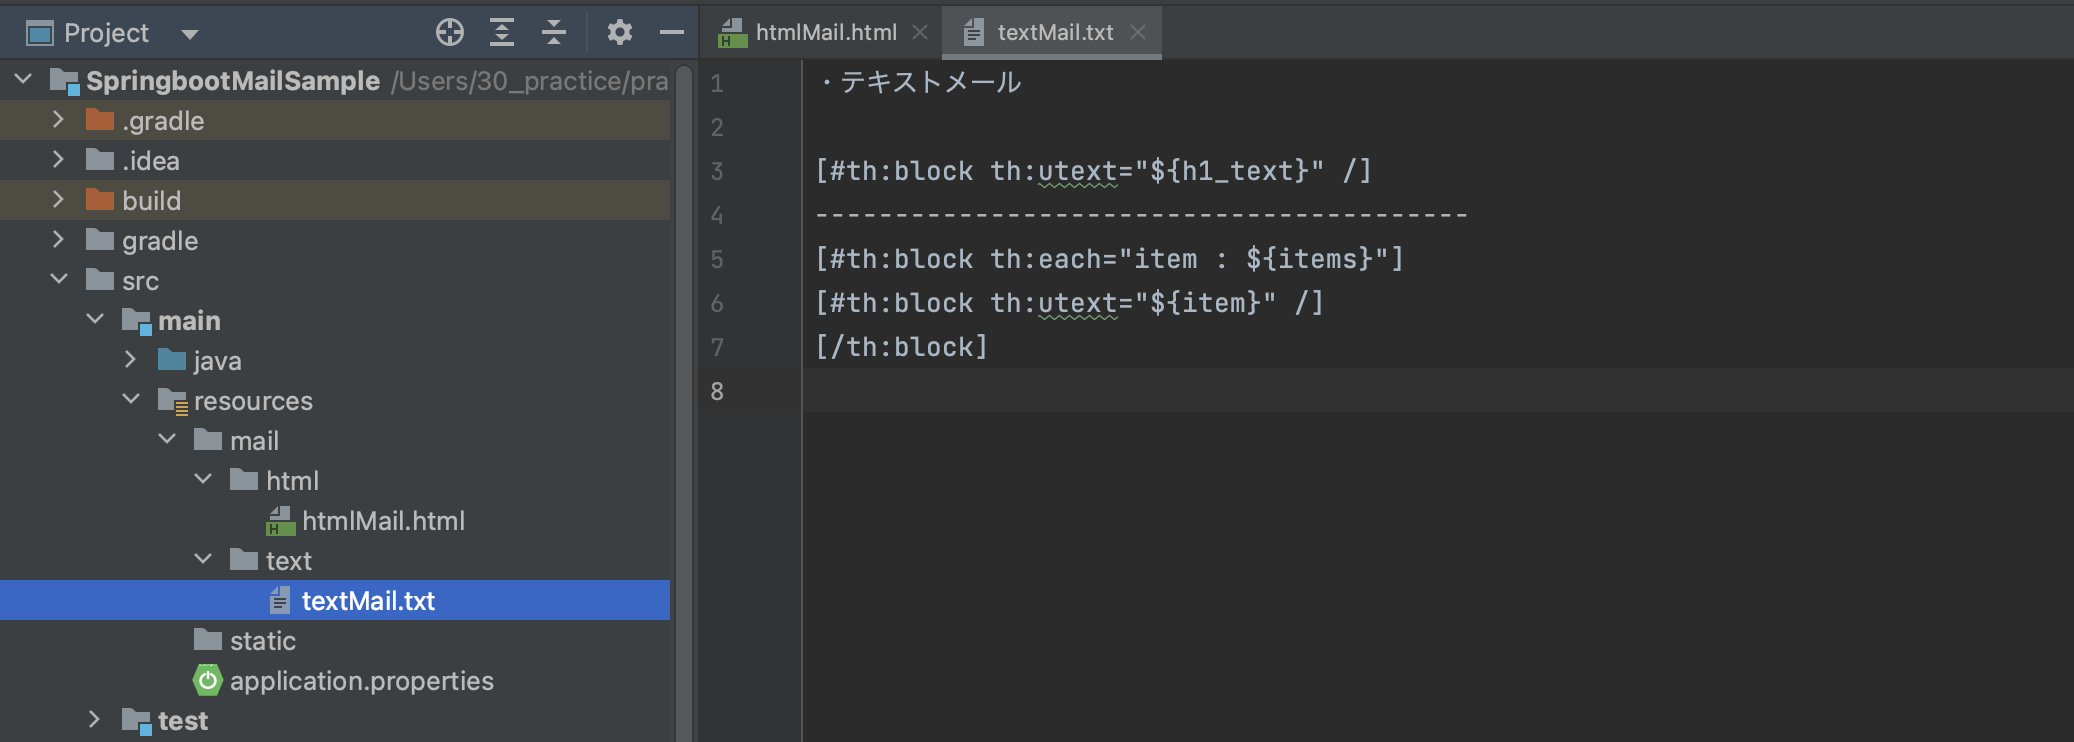
・テキストメール
src/main/resources/mail/text/textMail.txt
[#th:block th:utext="${h1_text}" /]
-----------------------------------------
[#th:block th:each="item : ${items}"]
[#th:block th:utext="${item}" /]
[/th:block]
メール送信処理実装(コントローラクラス)
今回は、メール送信処理にJavaMailSenderを利用し、
メール内容を作成するのに、MimeMessageやMimeMessageHelperを利用します。
シンプルなメールだけを送信する場合、
MailSender(メール送信処理)とSimpleMailMessage(メール内容作成)だけでも事足りるのですが、
メールにファイルを添付したり、今回のようなケースの場合対応できないので利用します。
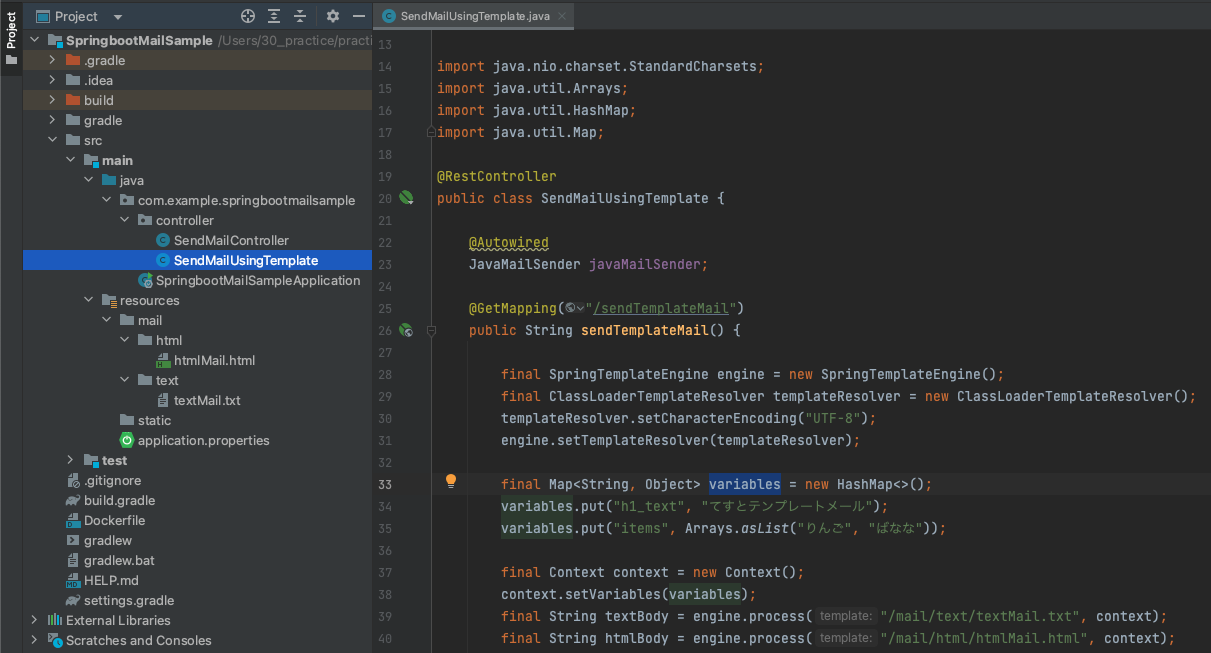
package com.example.springbootmailsample.controller;

import jakarta.mail.MessagingException;
import jakarta.mail.internet.MimeMessage;
import org.springframework.beans.factory.annotation.Autowired;
import org.springframework.mail.javamail.JavaMailSender;
import org.springframework.mail.javamail.MimeMessageHelper;
import org.springframework.web.bind.annotation.GetMapping;
import org.springframework.web.bind.annotation.RestController;
import org.thymeleaf.context.Context;
import org.thymeleaf.spring6.SpringTemplateEngine;
import org.thymeleaf.templateresolver.ClassLoaderTemplateResolver;

import java.nio.charset.StandardCharsets;
import java.util.Arrays;
import java.util.HashMap;
import java.util.Map;

@RestController
public class SendMailUsingTemplate {

    @Autowired
    JavaMailSender javaMailSender;

    @GetMapping("/sendTemplateMail")
    public String sendTemplateMail() {

        final SpringTemplateEngine engine = new SpringTemplateEngine();
        final ClassLoaderTemplateResolver templateResolver = new ClassLoaderTemplateResolver();
        templateResolver.setCharacterEncoding("UTF-8");
        engine.setTemplateResolver(templateResolver);

        final Map<String, Object> variables = new HashMap<>();
        variables.put("h1_text", "てすとテンプレートメール");
        variables.put("items", Arrays.asList("りんご", "ばなな"));

        final Context context = new Context();
        context.setVariables(variables);
        final String textBody = engine.process("/mail/text/textMail.txt", context);
        final String htmlBody = engine.process("/mail/html/htmlMail.html", context);

        try {
            final MimeMessage mimeMessage = this.javaMailSender.createMimeMessage();
            // MimeMessageHelper 第2引数でマルチパート指定
            final MimeMessageHelper helper = new MimeMessageHelper(mimeMessage, true, StandardCharsets.UTF_8.name());
            helper.setFrom("aaa@test.com");
            helper.setTo("bbb@test.com");
            helper.setSubject("テンプレートメール送信テスト");
            helper.setText(textBody, htmlBody);

            this.javaMailSender.send(mimeMessage);
        } catch (MessagingException e) {
            throw new RuntimeException(e);
        }
        return "send Template Mail. check MailHog.";
    }
}
ソースを上から確認していきますと、
まず、テンプレートエンジンを利用するために、SpringTemplateEngineとClassLoaderTemplateResolverを用意します。
final SpringTemplateEngine engine = new SpringTemplateEngine();
final ClassLoaderTemplateResolver templateResolver = new ClassLoaderTemplateResolver();
templateResolver.setCharacterEncoding("UTF-8");
engine.setTemplateResolver(templateResolver);
その後、テンプレートを指定しつつ、HTML・TEXTそれぞれメール本文利用するための準備を行います。
final Context context = new Context();
context.setVariables(variables);
final String textBody = engine.process("/mail/text/textMail.txt", context);
final String htmlBody = engine.process("/mail/html/htmlMail.html", context);setText部分でも、HTML・TEXTの両形式を指定しています。// メール内容 送信前組み立て
final MimeMessage mimeMessage = this.javaMailSender.createMimeMessage();
// TEXT・HTMLの両形式で送信するため、MimeMessageHelper第2引数にて、マルチパート指定を行います。
final MimeMessageHelper helper = new MimeMessageHelper(mimeMessage, true, StandardCharsets.UTF_8.name());
helper.setFrom("aaa@test.com");
helper.setTo("bbb@test.com");
helper.setSubject("テンプレートメール送信テスト");
helper.setText(textBody, htmlBody);
// メール送信処理
this.javaMailSender.send(mimeMessage);尚、HTMLメールのみ、TEXTメールのみの場合、
片方のメール内容だけ作成して、setTextを使い分けることで対応できます。
final String htmlBody = engine.process("/mail/html/htmlMail.html", context);

try {
    final MimeMessage mimeMessage = this.javaMailSender.createMimeMessage();
    final MimeMessageHelper helper = new MimeMessageHelper(mimeMessage, true, StandardCharsets.UTF_8.name());
    helper.setFrom("aaa@test.com");
    helper.setTo("bbb@test.com");
    helper.setSubject("テンプレートメール送信テスト");
    helper.setText(htmlBody, true); // 第1引数:メール内容、第2引数:html形式か否か

    this.javaMailSender.send(mimeMessage);
} catch (MessagingException e) {
    throw new RuntimeException(e);
}
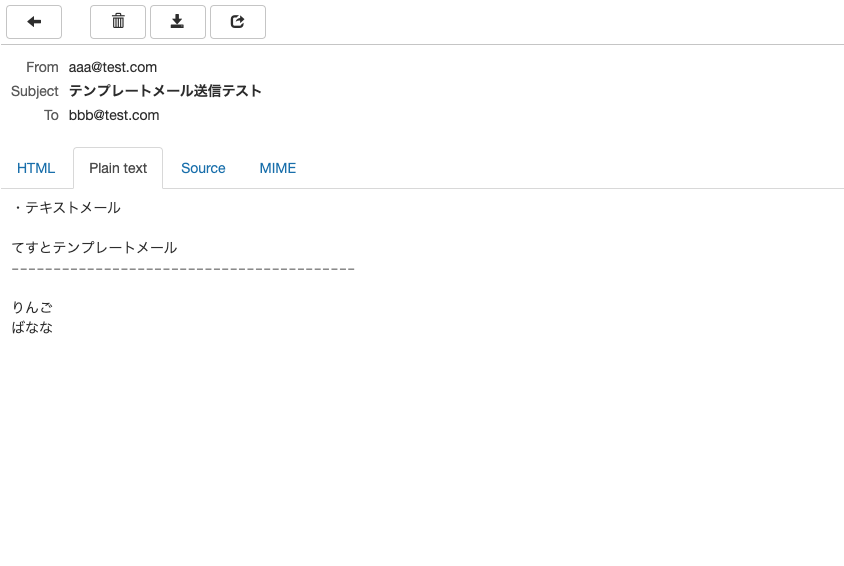
挙動確認
MailHogが起動している状態で行います。
サンプル用に実装したAPIを実行します。
http://localhost:8080/sendTemplateMail
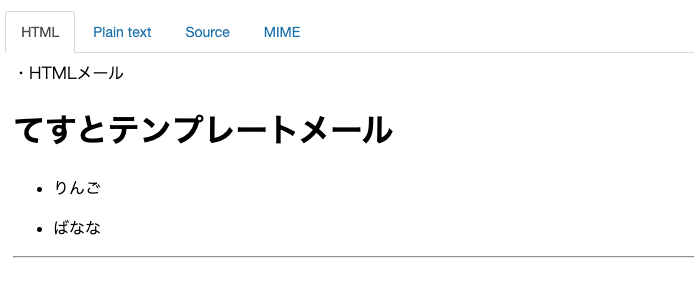
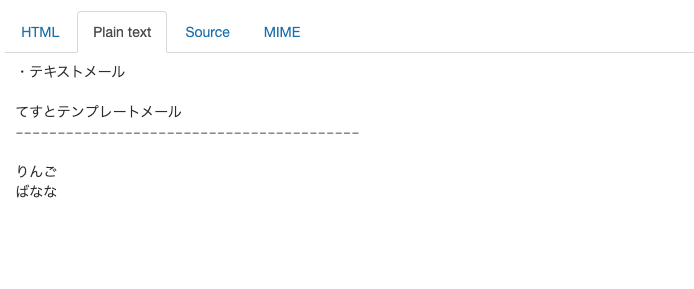
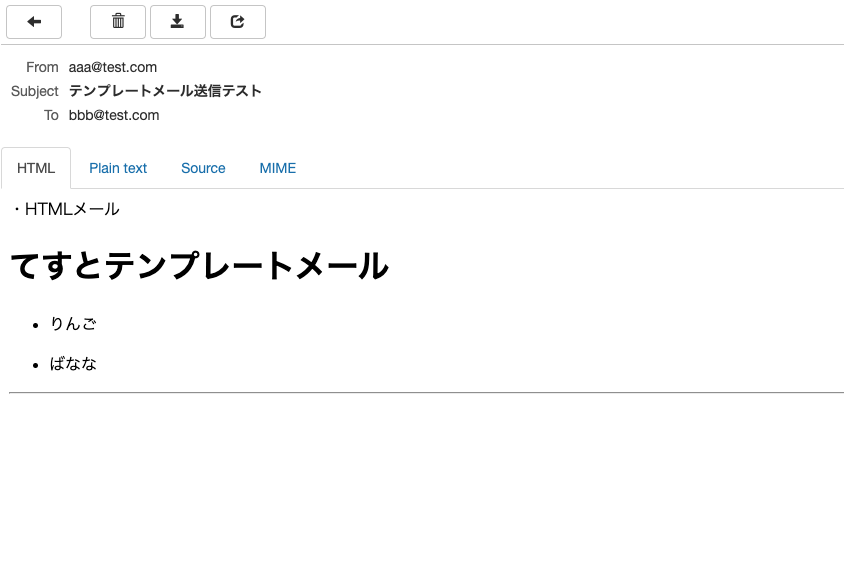
API実行後、MailHogのメール一覧を確認します。
メールの詳細を確認して、HTML形式とTEXT形式の両方でメールを確認できたら、
正常に送信されています。
今回のメモは以上となります。
普段見かけるメールは、HTMLメールが多いですが、
念のためPlain textメールを送信することが多いと思います。
また、メールにファイルを添付する場合なども、
MimeMessageHelperをマルチパートで利用すると対応できますので、
参考にして頂ければと思います。

