
今回は、SpringBootでGoogleログインを実装するサンプルメモとなります。
以下の公式ドキュメントに詳細が記載されておりますので、さっと確認したい場合は、
こちらだけ参照頂いても良いかもしれません。
・Googleでログインボタンを表示する
https://developers.google.com/identity/gsi/web/guides/display-button?hl=ja&authuser=1
・Using a Google API Client Library
こちらのメモは、Google Coloudのプロジェクト設定などが事前に完了し、
OAuthクライアントIDや、リクエストURI等の設定が完了済み前提でのメモとなります。
それらについては、以下に記載しておりますので、参考にして頂ければと思います。
また、Spring系のSpringSecurityやSpringSessionなどは使用せずSpringBootのみの内容となります。
ルーティングなどの制御は含まれておりません。
目次
環境
- macOS:Big Sur 11.5.2
- IntelliJ(Ultimate Edition):2023.1
動作確認バージョン
- Java:Amazon Corretto 17
- SpringBoot:3.1.0
- Gradle:7.6.1
-
google-api-client:2.2.0
Googleログインボタン 設置
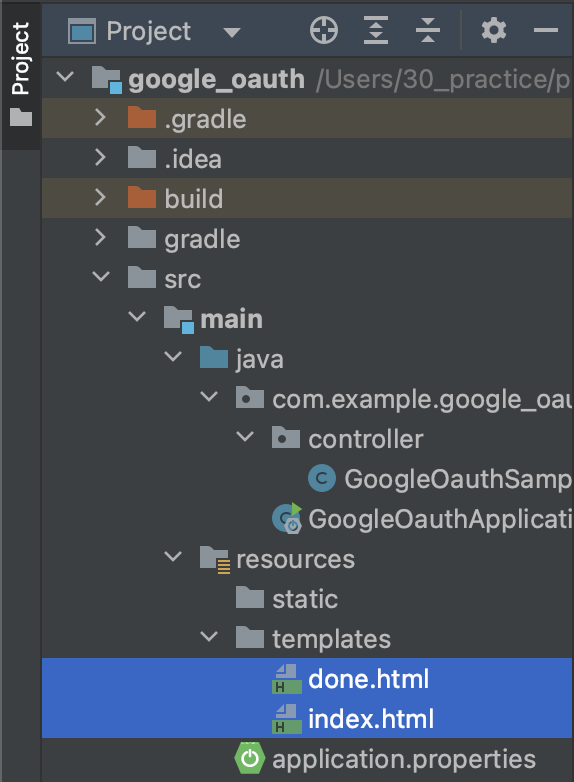
Googleログインボタンを表示するページ(index.html)と、
認証後に遷移するページ(done.html)を用意します。
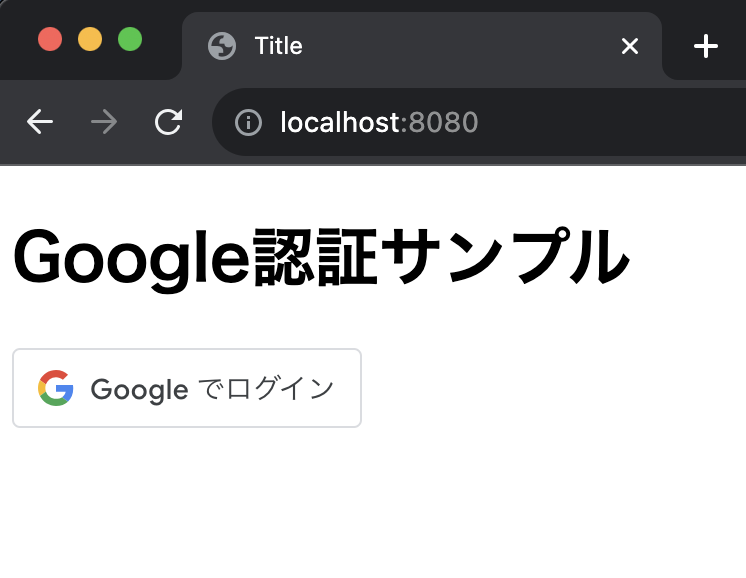
・ログインボタン表示画面
以下を参考にログインボタンを設置します。
https://developers.google.com/identity/gsi/web/guides/display-button?hl=ja&authuser=1
index.html
<html lang="ja">
<head>
  <meta charset="UTF-8">
  <title>Title</title>
</head>
<body>
  <h1>Google認証サンプル</h1>
  <script src="https://accounts.google.com/gsi/client" async defer></script>
  <div id="g_id_onload"
    data-client_id="クライアントID"
    data-callback="afterLoginCallback"
    data-ux_mode="redirect"
    data-login_uri="http://localhost:8080/done"
    data-size="small"
  >
  </div>
  <div class="g_id_signin" data-type="standard"></div>
</body>
</html>
以下の部分は、Google Cloudプロジェクトで生成済みのクライアントIDを指定します。
data-client_id="クライアントID"
また、今回はSpringBootで実装したコントローラを呼ぶ形で画面遷移させたいので、
data-ux_mode="redirect"を指定して、リダイレクトURIも以下のように指定します。
data-login_uri="http://localhost:8080/done"
こちらも、Google cloudプロジェクトで、実行許可されるURIとして登録済み前提となります。
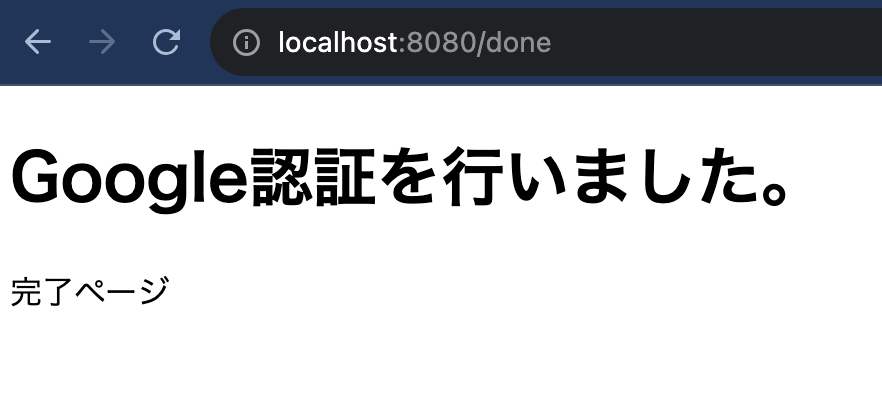
done.html
<html lang="ja">
<head>
  <meta charset="UTF-8">
  <title>Title</title>
</head>
<body>
  <h1>Google認証を行いました。</h1>
  <p>完了ページ</p>
</body>
</html>
Gradle 依存設定
プログラミング言語で、Google認証された情報を取り扱う場合、
提供されているUsing a Google API Client Libraryを利用します。
Javaの場合、com.google.api-client:google-api-clientを利用します。
今回は、Gradle利用しますが、Mavenでも同じように利用できると思います。
plugins {
	id 'java'
	id 'org.springframework.boot' version '3.1.1'
	id 'io.spring.dependency-management' version '1.1.0'
}

group = 'com.example'
version = '0.0.1-SNAPSHOT'

java {
	sourceCompatibility = '17'
}

repositories {
	mavenCentral()
}

dependencies {
	implementation 'org.springframework.boot:spring-boot-starter-thymeleaf'
	implementation 'org.springframework.boot:spring-boot-starter-web:3.1.0'
	implementation 'com.google.api-client:google-api-client:2.2.0'

	testImplementation 'org.springframework.boot:spring-boot-starter-test'
}

tasks.named('test') {
	useJUnitPlatform()
}
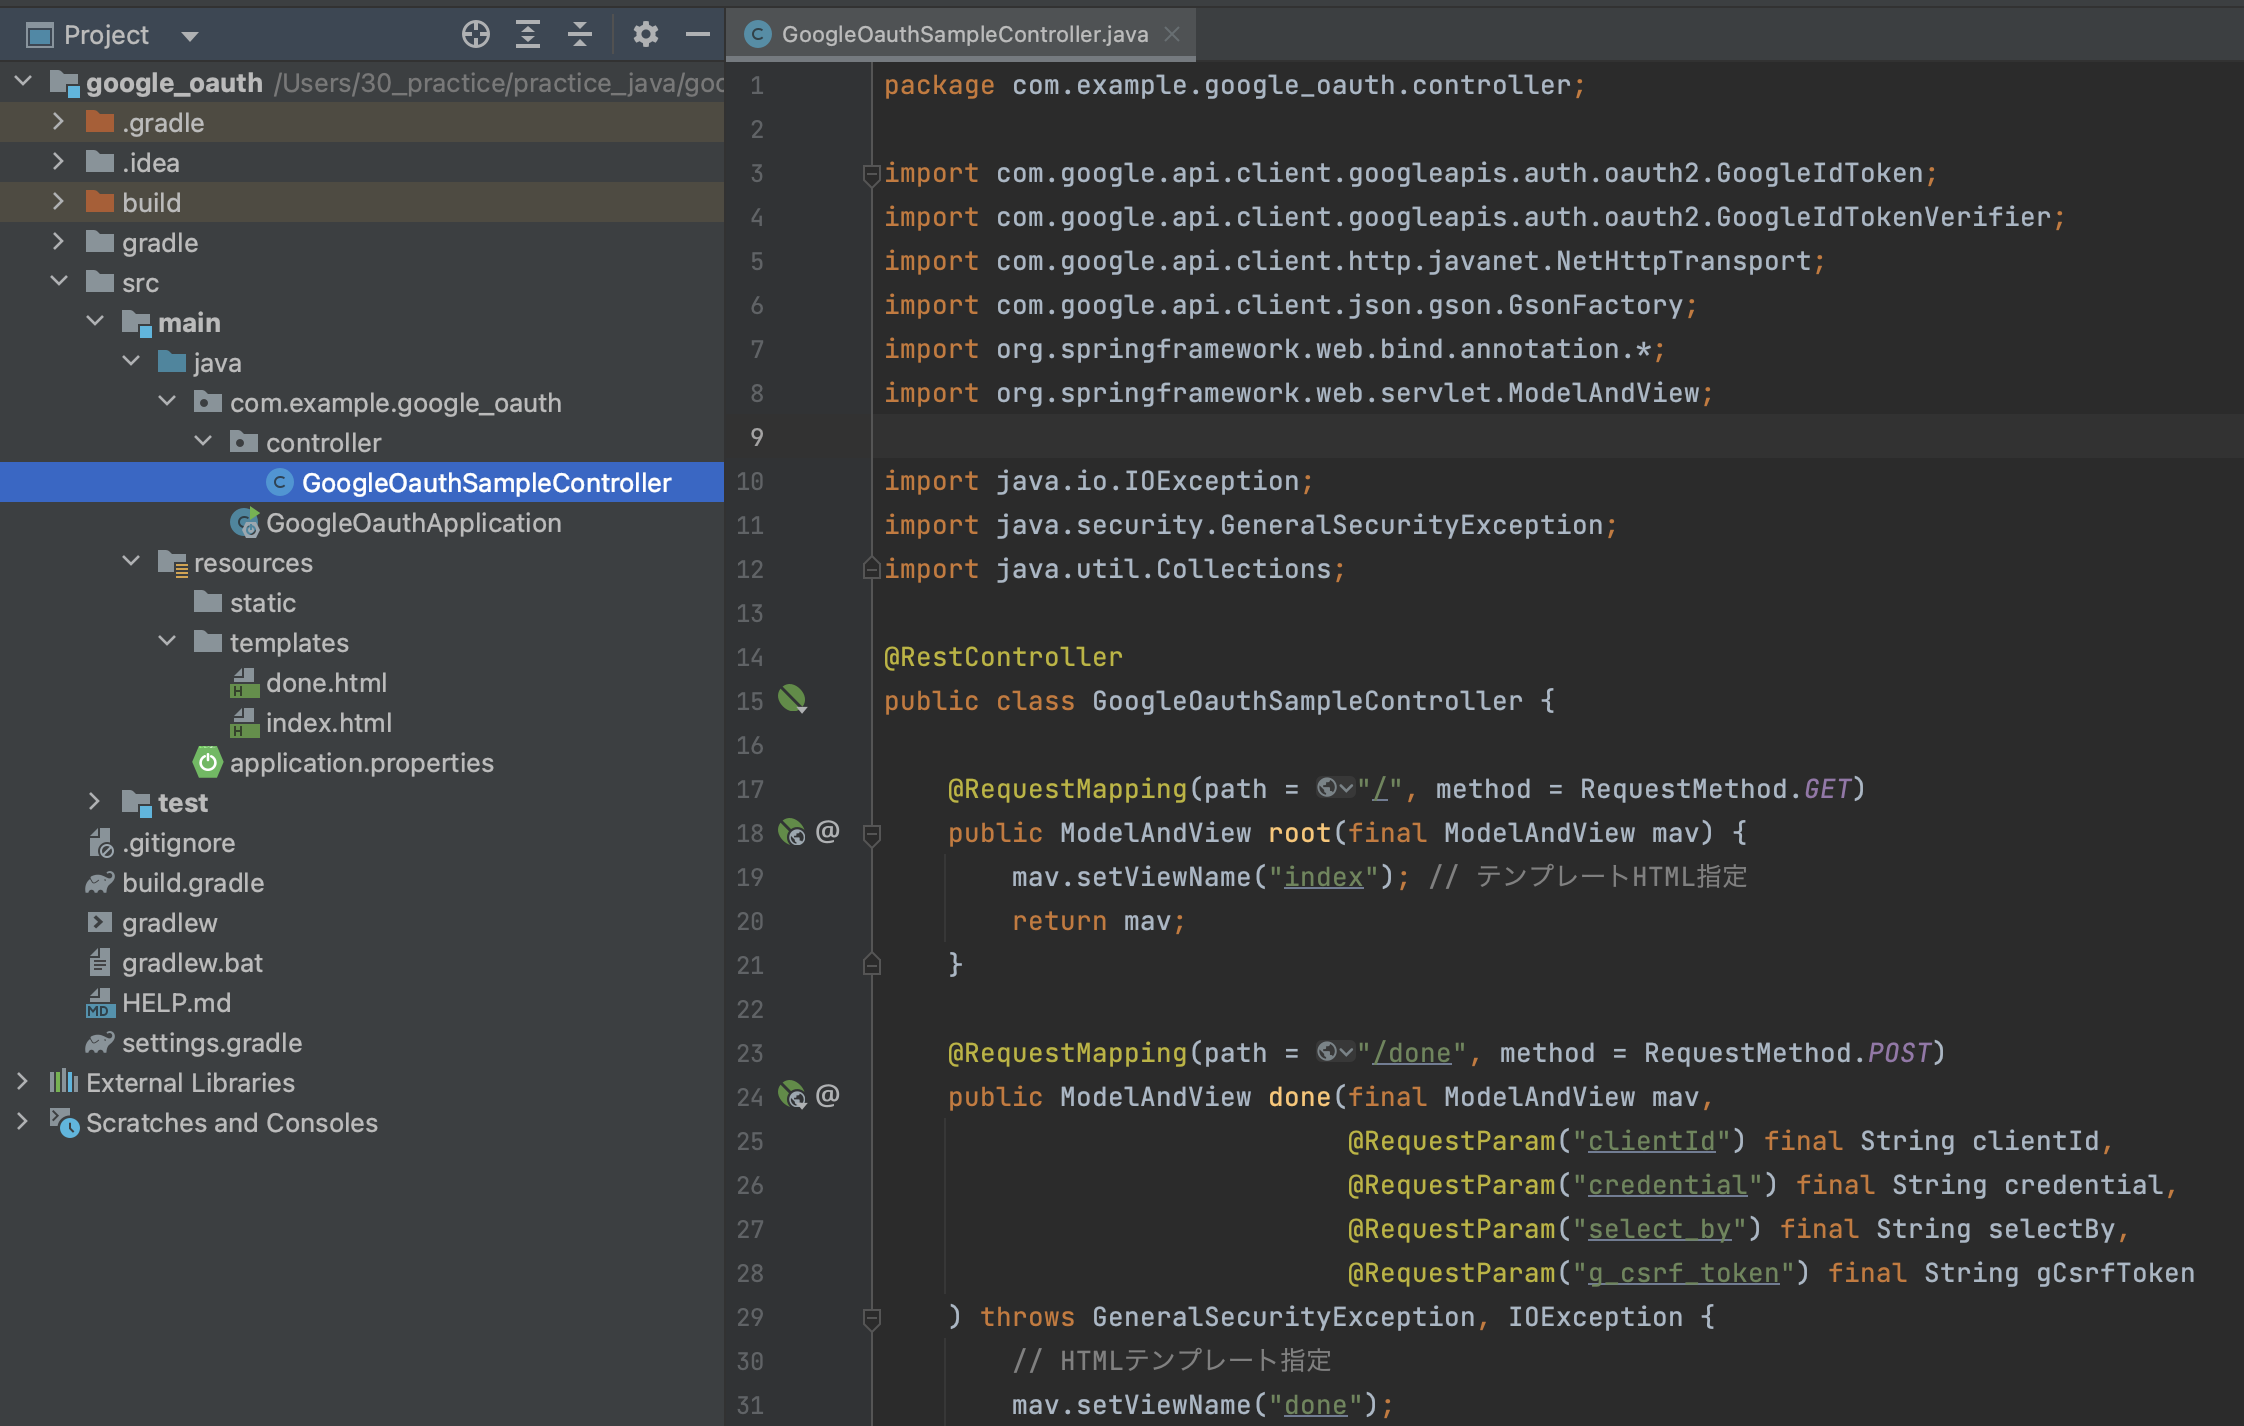
コントローラー実装
Googleログインボタンを表示する画面と、認証後の画面を表示・処理するための簡単なAPIを実装します。
Package com.example.google_oauth.controller;

import com.google.api.client.googleapis.auth.oauth2.GoogleIdToken;
import com.google.api.client.googleapis.auth.oauth2.GoogleIdTokenVerifier;
import com.google.api.client.http.javanet.NetHttpTransport;
import com.google.api.client.json.gson.GsonFactory;
import org.springframework.web.bind.annotation.*;
import org.springframework.web.servlet.ModelAndView;
import java.io.IOException;
import java.security.GeneralSecurityException;
import java.util.Collections;

@RestController public class GoogleOauthSampleController {
    @RequestMapping(path = "/", method = RequestMethod.GET)
    public ModelAndView root(final ModelAndView mav) {
        mav.setViewName("index"); // テンプレートHTML指定
        return mav;
    }
    @RequestMapping(path = "/done", method = RequestMethod.POST)
    public ModelAndView done(final ModelAndView mav,
                             @RequestParam("clientId") final String clientId,
                             @RequestParam("credential") final String credential,
                             @RequestParam("select_by") final String selectBy,
                             @RequestParam("g_csrf_token") final String gCsrfToken
    ) throws GeneralSecurityException, IOException {
        mav.setViewName("done"); // HTMLテンプレート指定
        final GoogleIdTokenVerifier verifier = new GoogleIdTokenVerifier.Builder(new NetHttpTransport(), GsonFactory.getDefaultInstance())
        // Specify the CLIENT_ID of the app that accesses the backend:
        .setAudience(Collections.singletonList(clientId))
        // Or, if multiple clients access the backend:
        //.setAudience(Arrays.asList(CLIENT_ID_1, CLIENT_ID_2, CLIENT_ID_3))
        .build();

        final GoogleIdToken idToken = verifier.verify(credential);
        if (idToken != null) {
            GoogleIdToken.Payload payload = idToken.getPayload();
            System.out.println("selectBy:" + selectBy);
            System.out.println("gCsrfToken:" + gCsrfToken);
            System.out.println("userId:" + payload.getSubject());
            System.out.println("email:" + payload.getEmail());
            System.out.println("emailVerified:" + payload.getEmailVerified());
            System.out.println("name:" + payload.get("name"));
            System.out.println("pictureUrl:" + payload.get("picture"));
            System.out.println("locale:" + payload.get("locale"));
            System.out.println("familyName:" + payload.get("family_name"));
            System.out.println("givenName:" + payload.get("given_name"));
        } else {
            System.out.println("Invalid ID token.");
        } return mav;
    }
}
localhost:8080でログインボタンのページを表示させて、
localhost:8080/doneで承認後の処理・画面表示をおこないます。
また、doneメソッドはパラメータで、認証情報などを受け取れますので、引数を対応した形で実装します。
詳しくは、以下を参照ください。
Google API Client – ID トークン ハンドラ エンドポイント –
今回のメモは以上となります。
Java以外にもNode.js、PHP、PythonなどもGoogle API Clientが提供されているようなので、
同じ要領で実装できると思います。
公式ドキュメントが非常に分かりやすいので参考に頂ければと思います。