今回は、AWSのSESをメールサーバーとして、
SpringBootのAPIからメールを送信する実装メモとなります。
独自ドメインは使用せずに自分の所有しているメールアドレスを利用します。
検証済みメールアドレスを登録して利用するため、サンドボックスモード・本番モードのどちらでも構いません。
※サンドボックスモードでも無料枠に当てはまらない場合、通常と同様に料金が発生します。
AWS SESの設定は、Terraformで簡単に設定してみます。
目次
参考
・AWS SDK を使用して Amazon SES 経由で E メールを送信する
・Initialize Terraform configuration
・AWS SES pricing
AWS SES設定
・tfファイル作成
以下の内容でtfファイルを作成します。
こちらで設定したメールアドレスが、メール送信処理の送信元となります。
有効なメールアドレスを設定する必要があります。
また、後述のメールアドレスが有効であることの確認(検証)が行われるまでメール送信を行えません。
provider "aws" {
  region = "us-east-1" # 動作させるリージョンを指定
}

resource "aws_ses_email_identity" "send_ses_mail_example" {
  email = "your-email@example.com" # 設定したいメールアドレス
}
・Terraform実行
tfファイルが存在するディレクトリで、
以下のコマンドを順に実行してSES側を設定します。
terraform init # 初期化
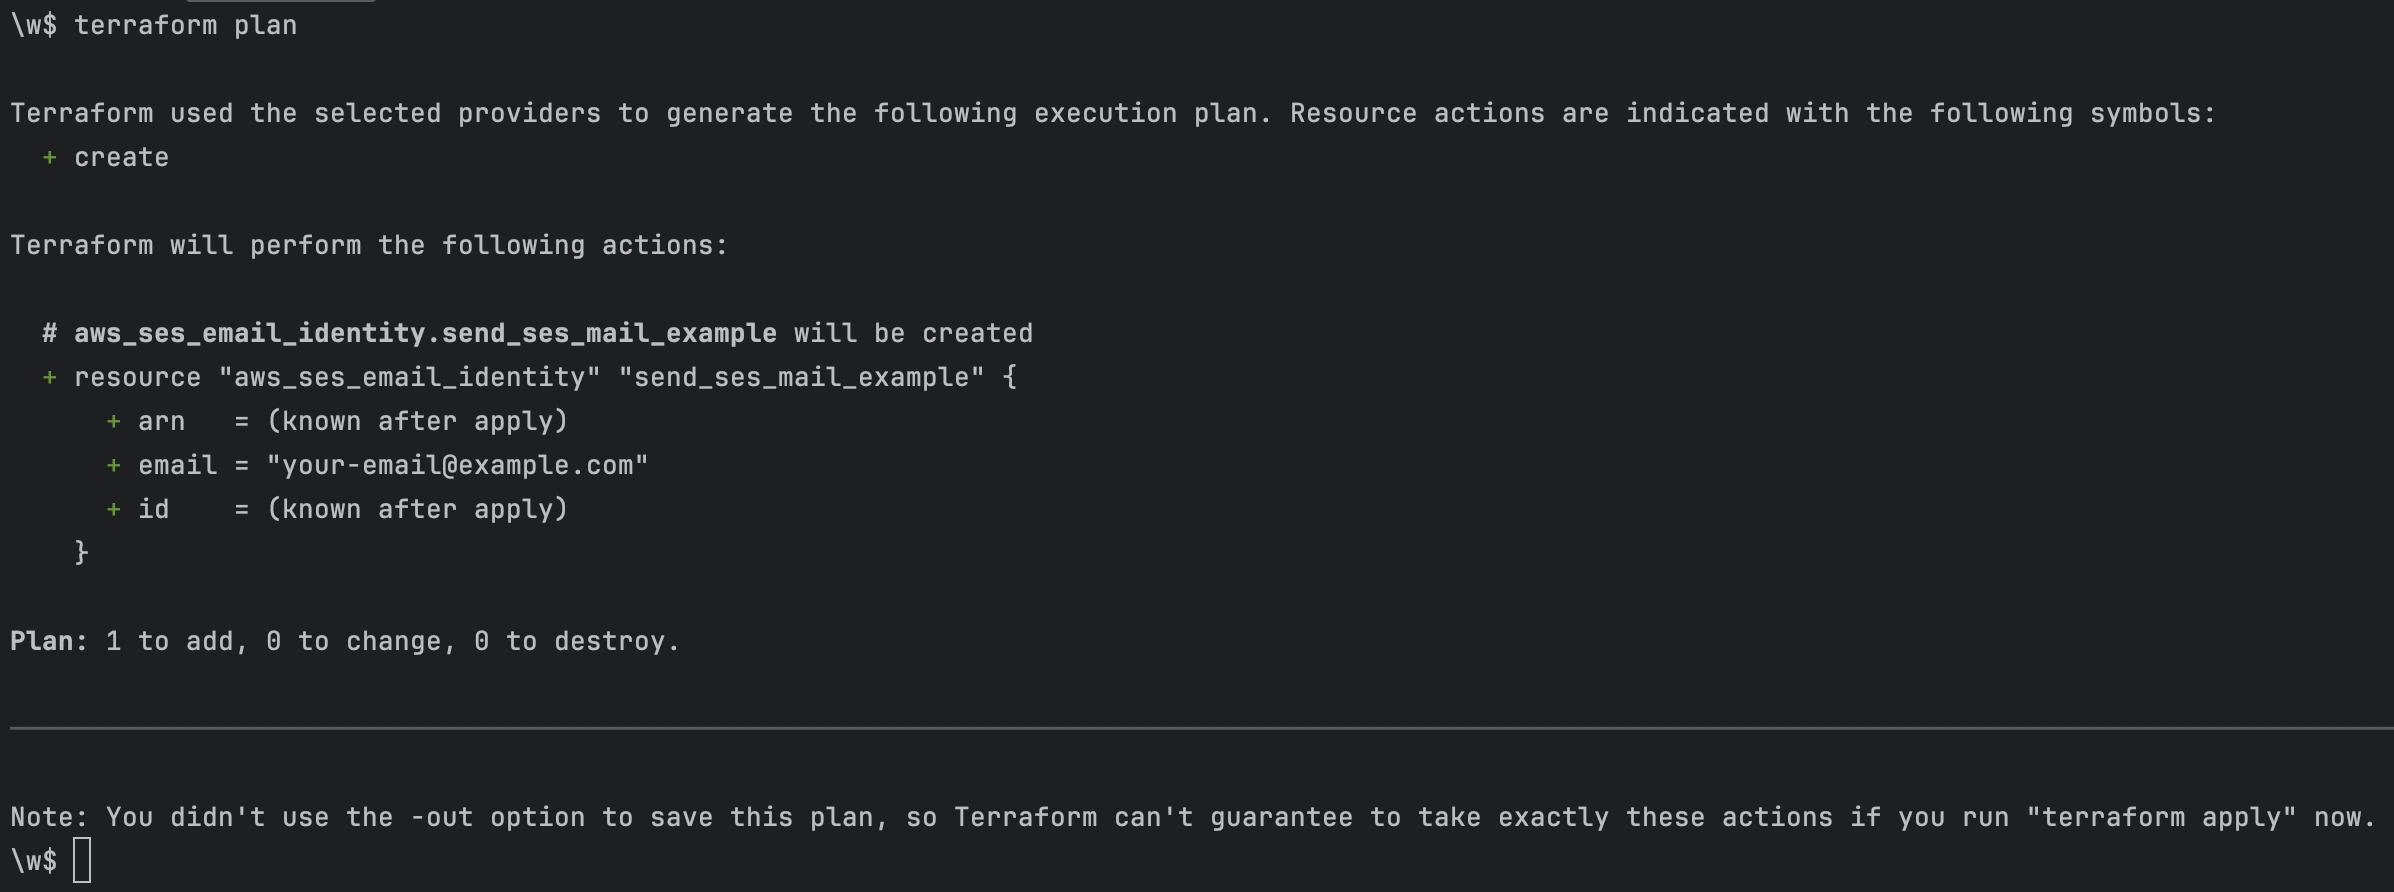
terraform plan # インフラ設定確認
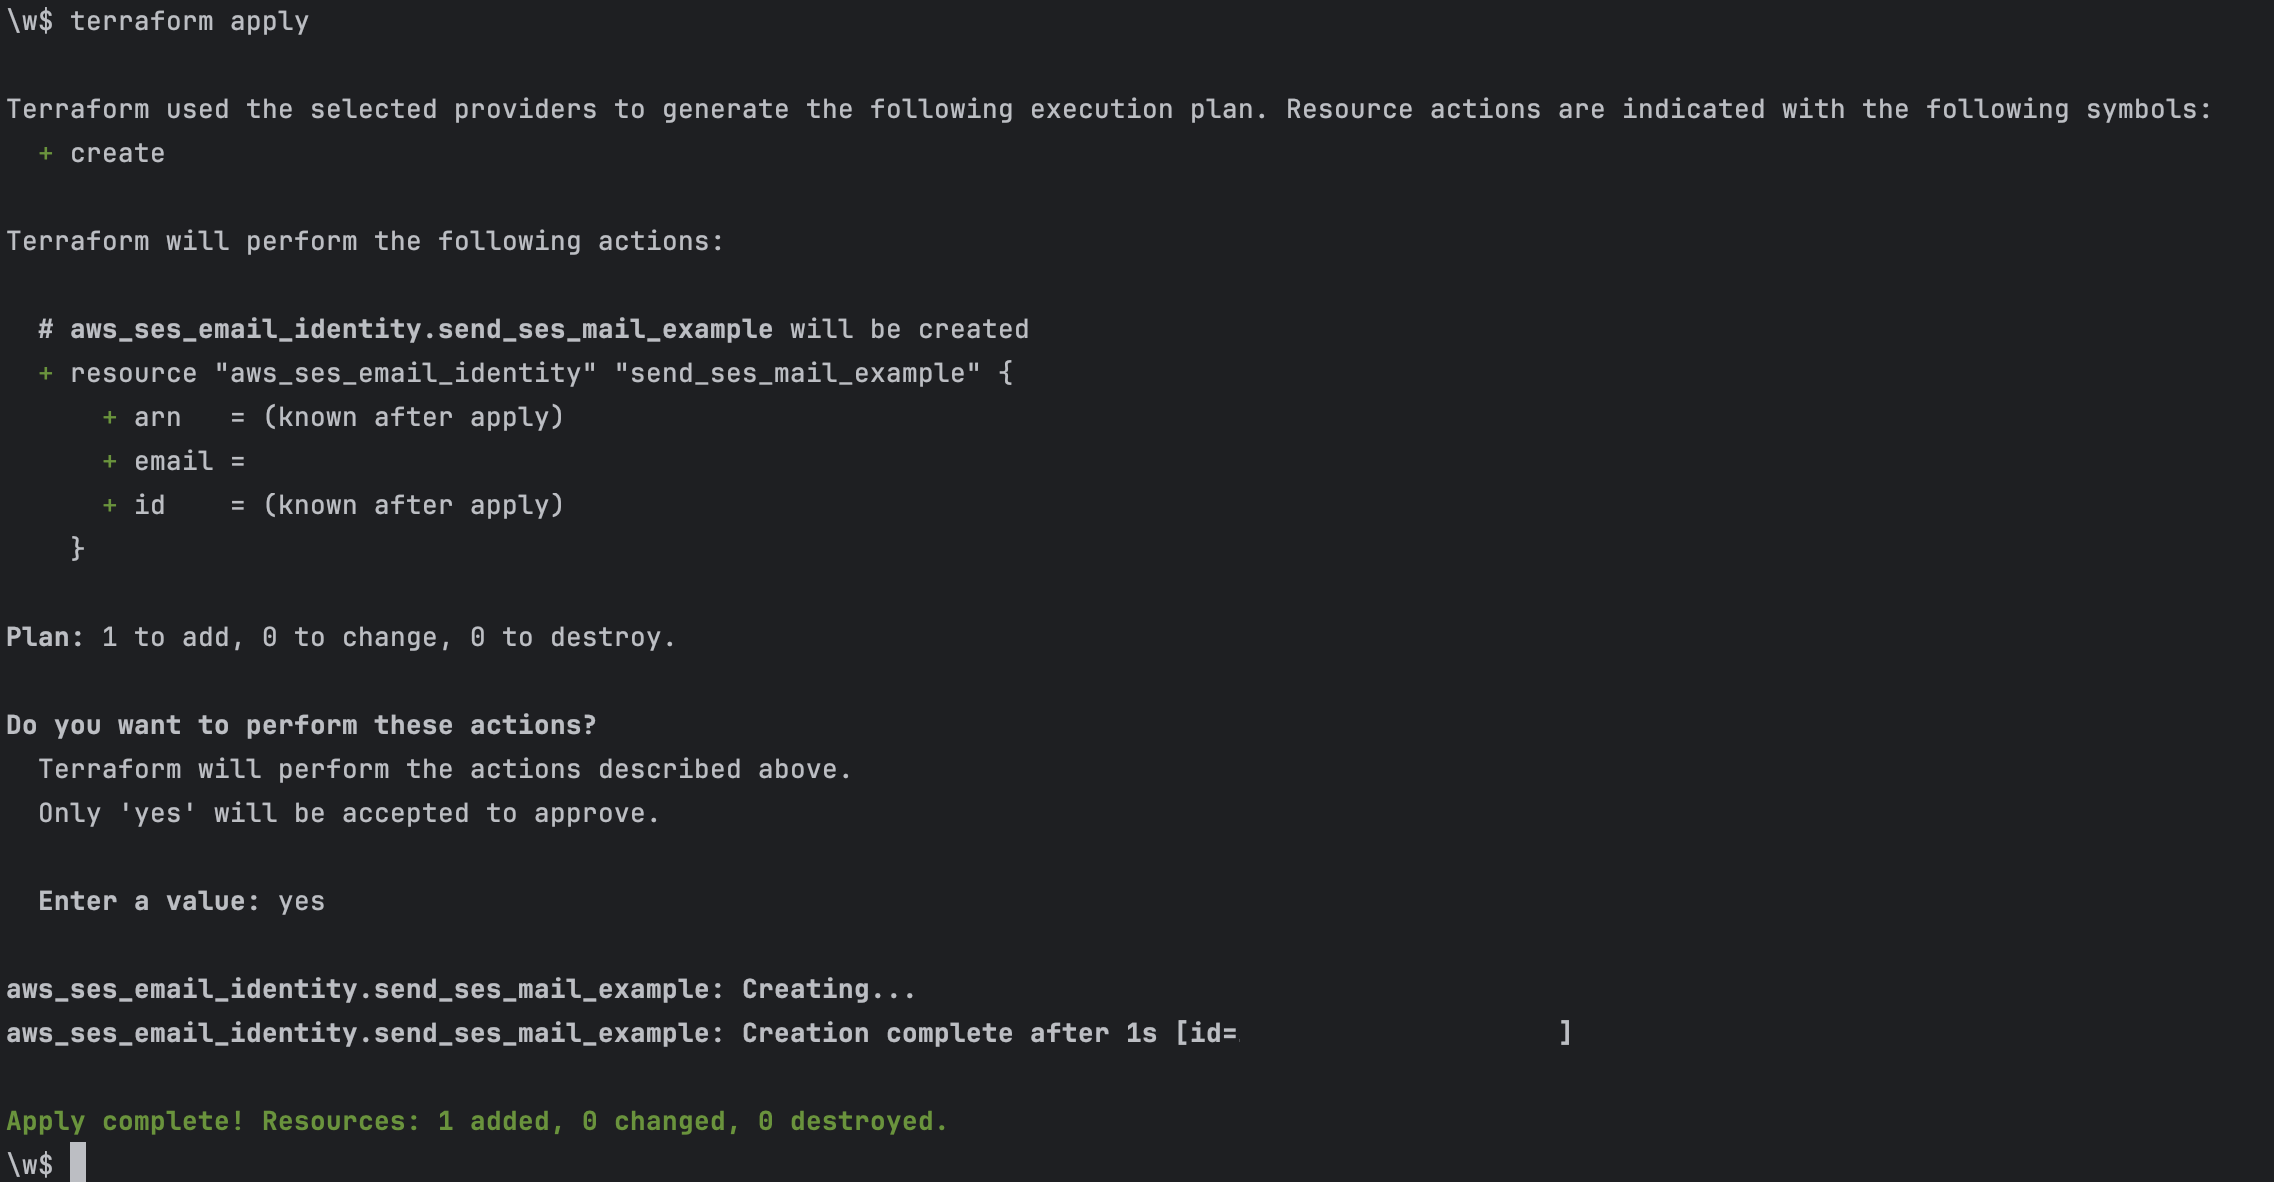
terraform apply # インフラ設定適応
メールアドレス検証
Terraformコマンドを実行してSES設定を行ったら、
設定したメールアドレスの検証を実施して、メール送信できる様にします。
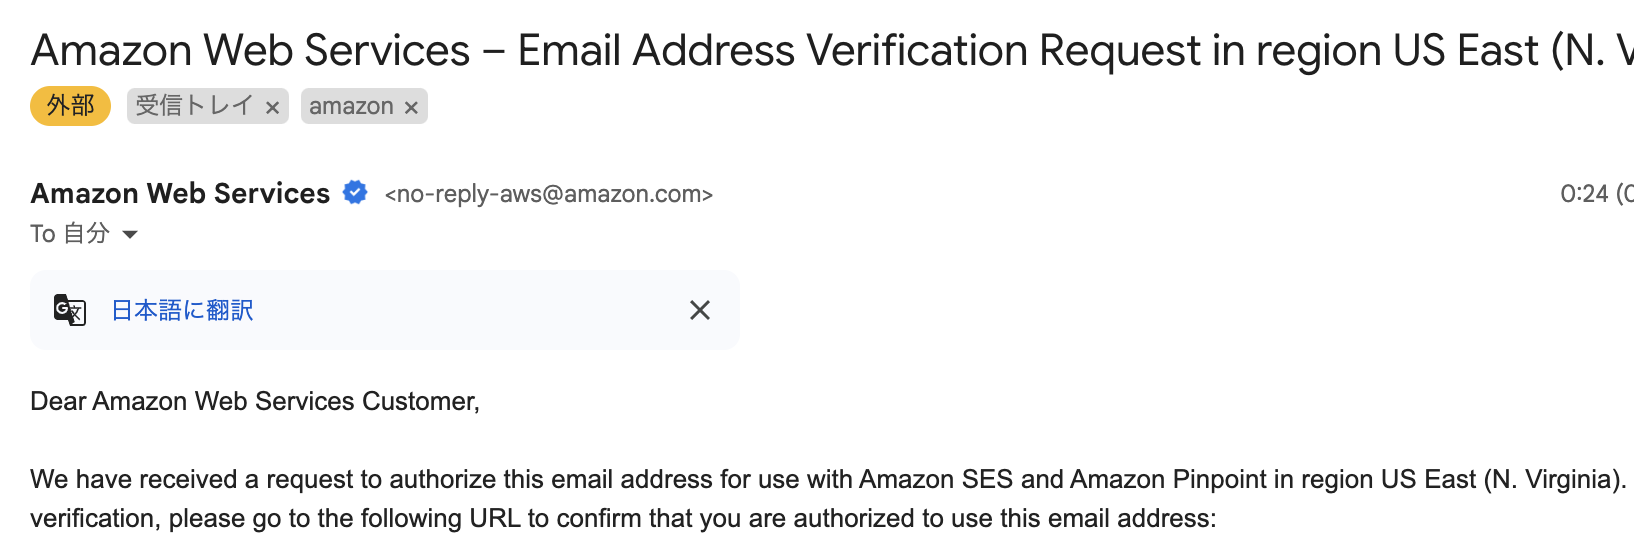
SESに設定された時点で、該当のメールアドレス宛に、
以下の様な検証用メールが届きます。こちらのメールより検証を完了させます。
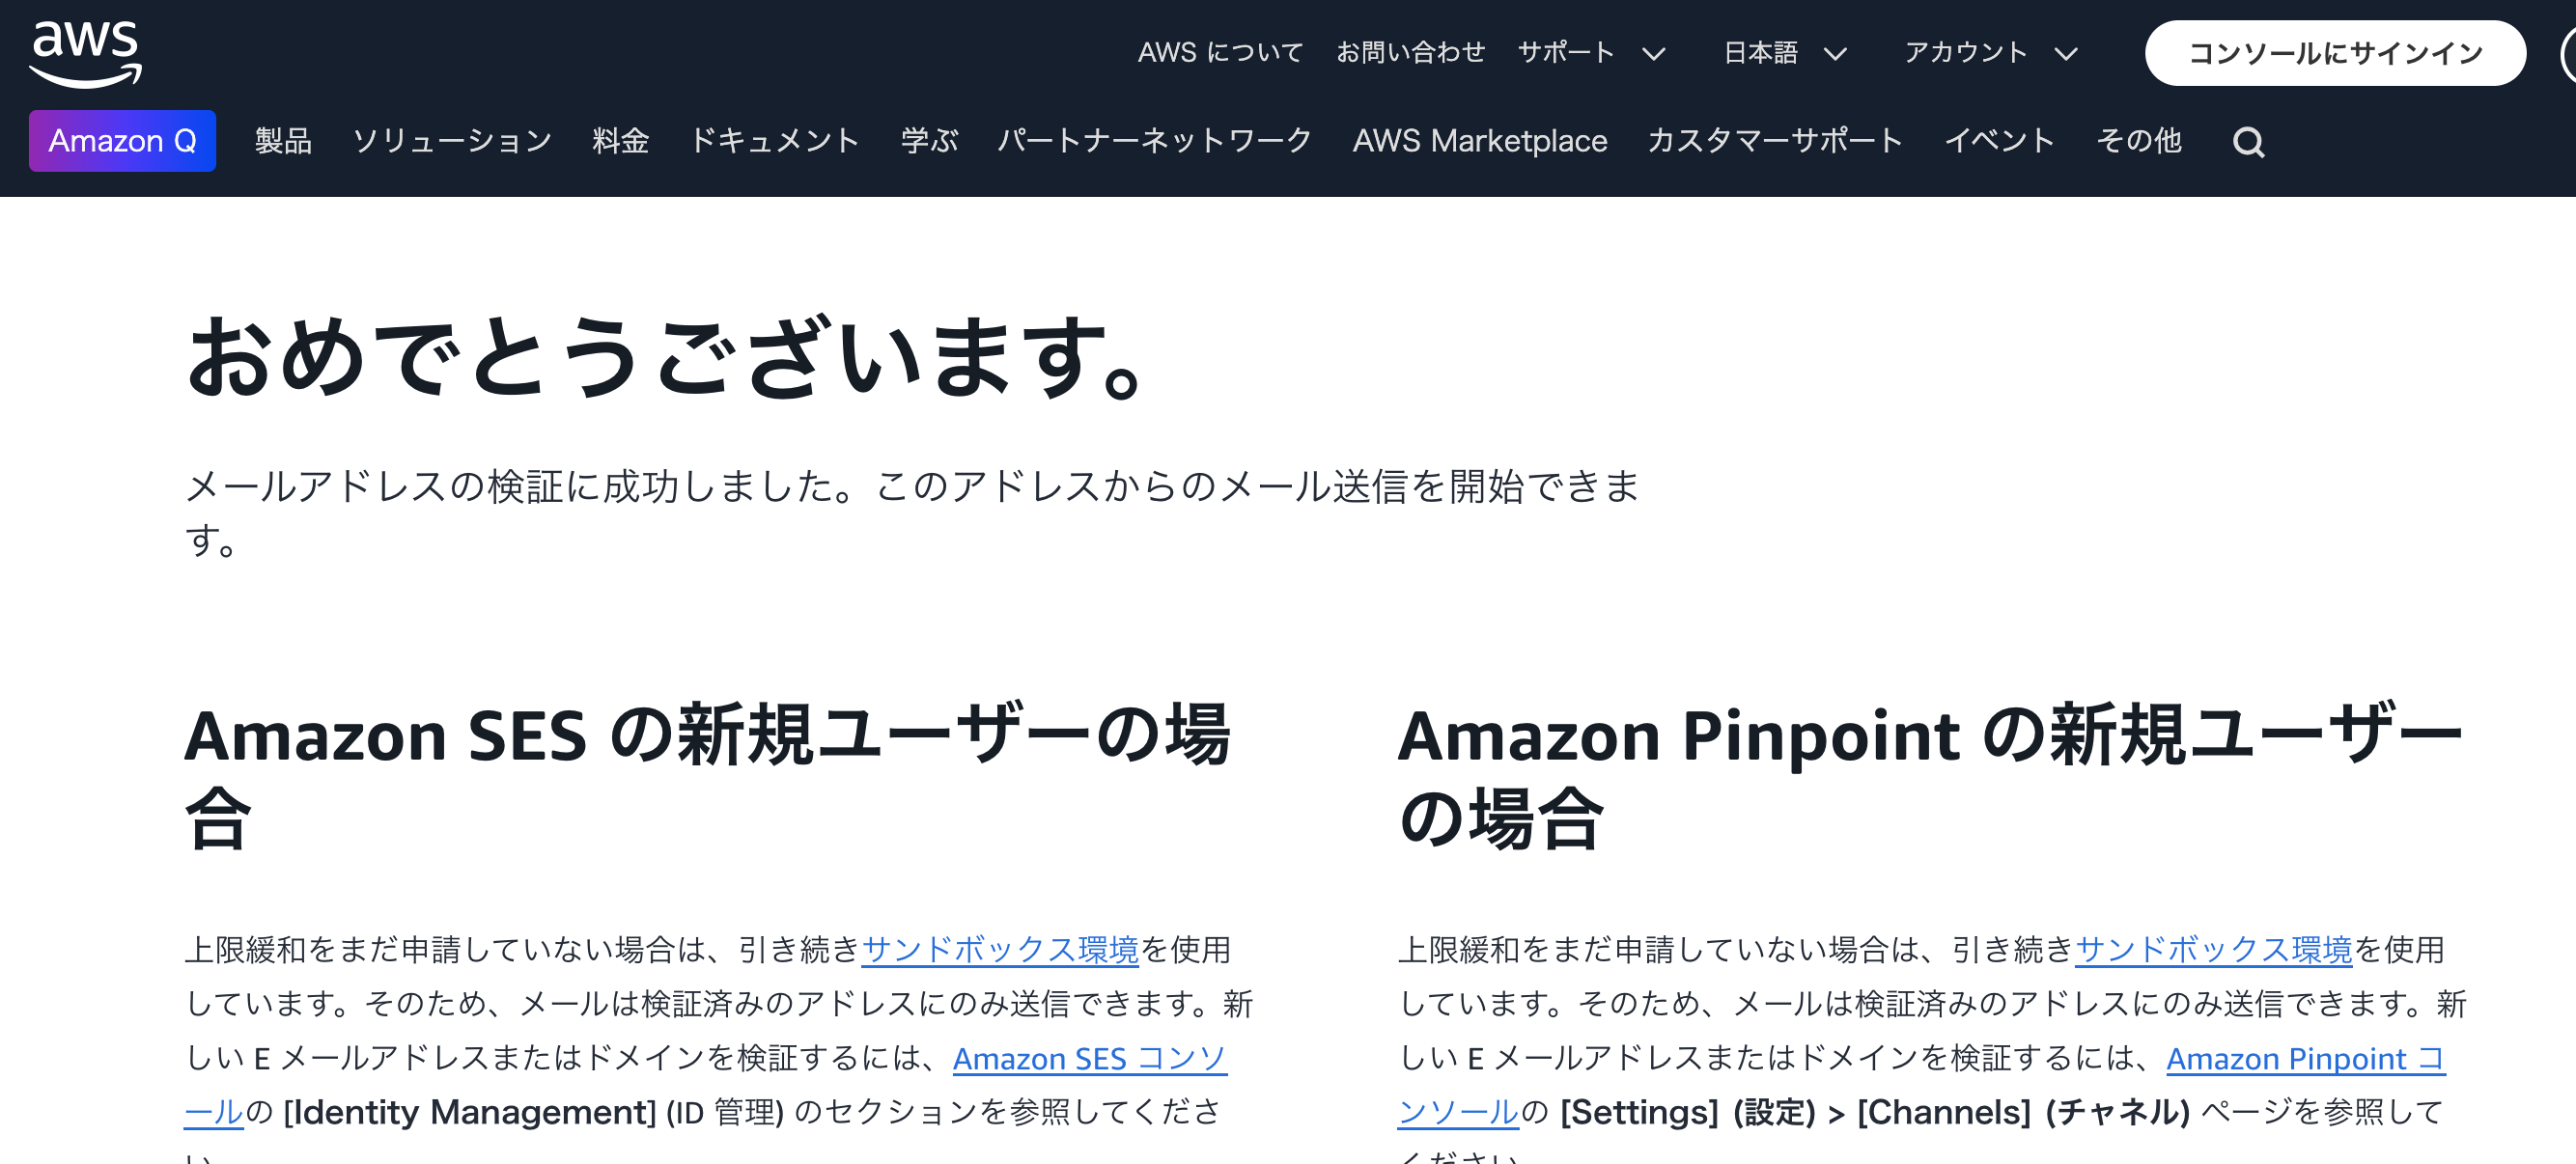
検証を確定すると以下の画面に遷移します。
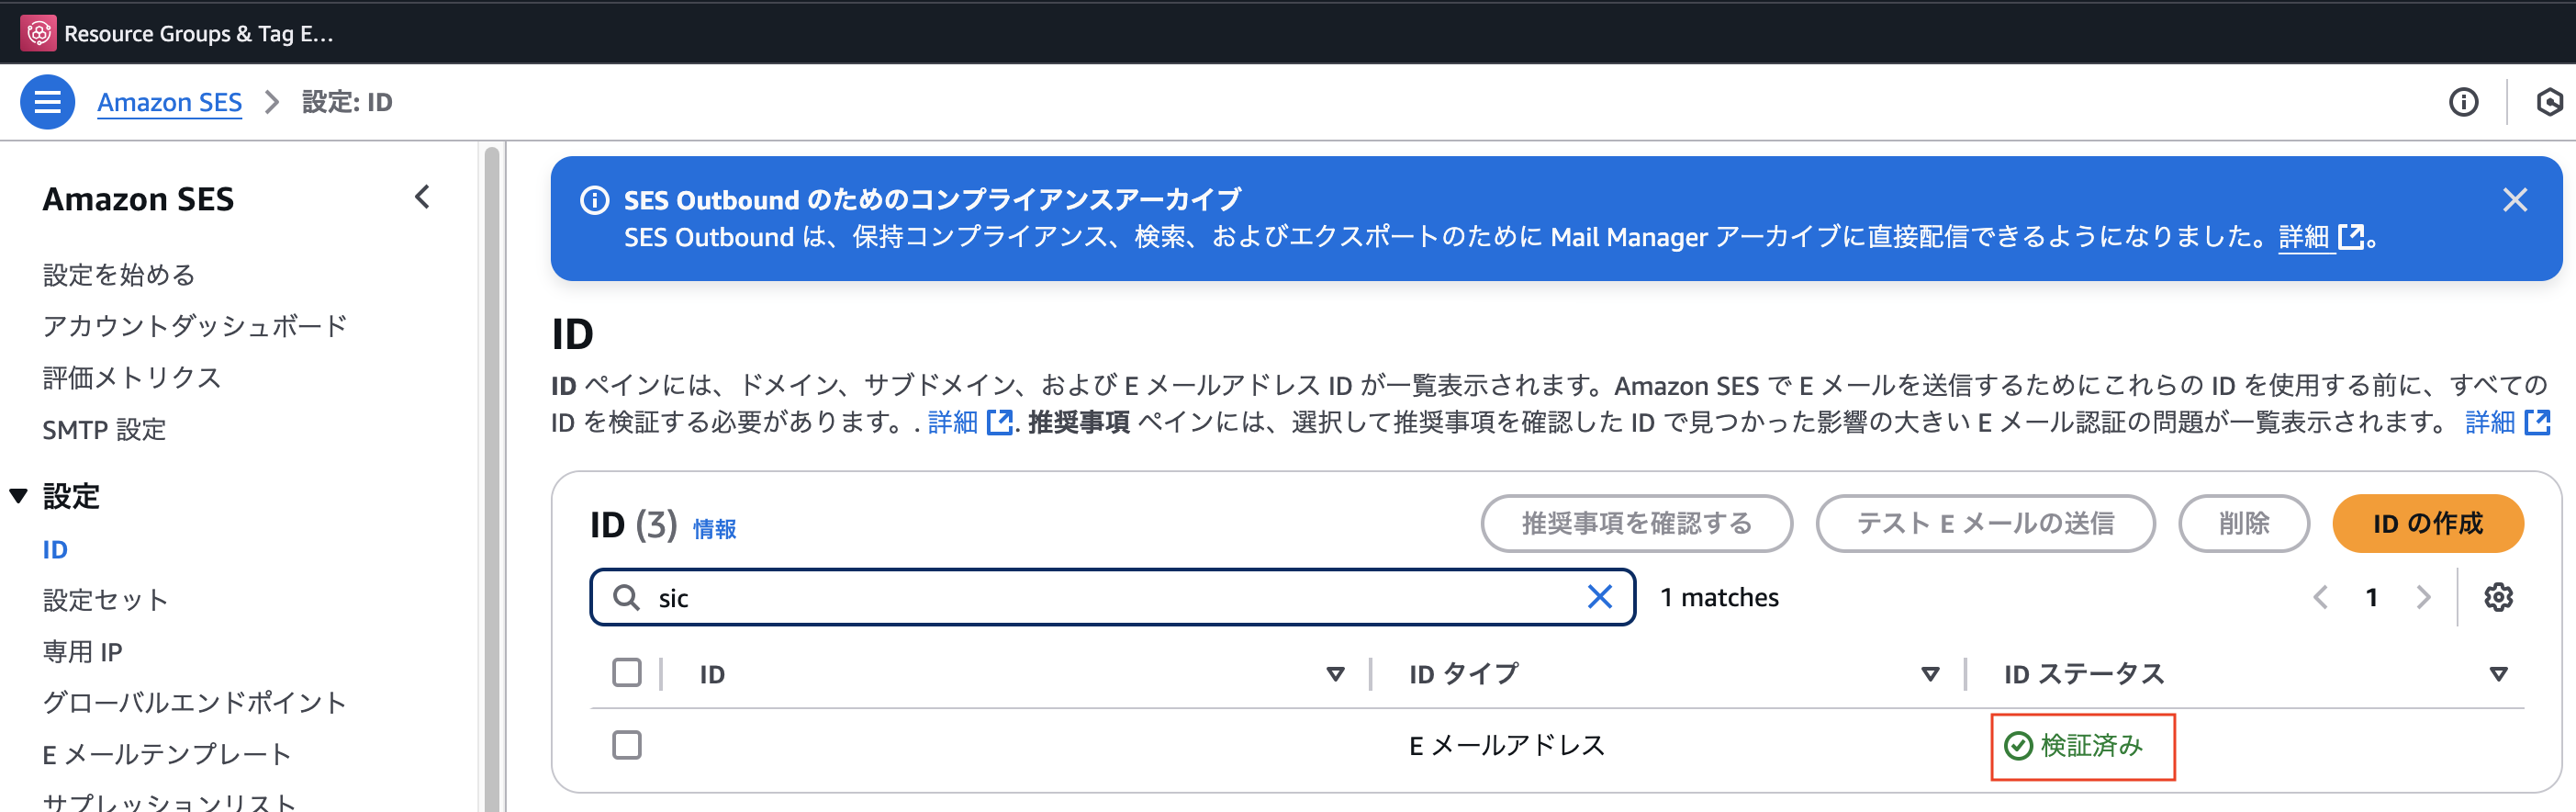
 SES上の画面でも該当のメールアドレスのIDステータスが、検証済みに変化します。
メール送信処理実装
SESの設定が完了したら、簡単なメール送信処理を実装してメールが送信されることを確認します。
・Gradle設定
plugins {
    id 'java'
    id 'org.springframework.boot' version '3.4.1'
    id 'io.spring.dependency-management' version '1.1.7'
}

group = 'example.com'
version = '0.0.1-SNAPSHOT'

java {
    toolchain {
        languageVersion = JavaLanguageVersion.of(17)
    }
}

configurations {
    compileOnly {
        extendsFrom annotationProcessor
    }
}

repositories {
    mavenCentral()
}

dependencies {
    implementation 'org.springframework.boot:spring-boot-starter-mail'
    implementation 'org.springframework.boot:spring-boot-starter-thymeleaf'
    implementation 'org.springframework.boot:spring-boot-starter-web'
    implementation platform('software.amazon.awssdk:bom:2.27.21')
    implementation 'software.amazon.awssdk:ses'
    implementation 'software.amazon.awssdk:regions'

    testImplementation 'org.springframework.boot:spring-boot-starter-test'
    testRuntimeOnly 'org.junit.platform:junit-platform-launcher'
}

tasks.named('test') {
    useJUnitPlatform()
}
・テスト用コントローラクラス
import example.com.springbootmailses.service.SesEmailService;
import org.springframework.beans.factory.annotation.Autowired;
import org.springframework.web.bind.annotation.GetMapping;
import org.springframework.web.bind.annotation.RestController;

@RestController
public class SendMailController {

    @Autowired
    private SesEmailService sesEmailService;

    @GetMapping("/sendTestMail")
    public String sendTestMailSes() {
        String from = "your-email@example.com"; // 検証済みのメールアドレスを指定する
        String to = "to@test.com"; // 宛先のメールアドレスを指定する
        String subject = "This is a test email. SES mail"; // メールタイトル
        String body = "This is a test email body. SES mail"; // メール本文
        return sesEmailService.sendEmail(from, to, subject, body);
    }
}
・テスト用サービスクラス
import org.springframework.beans.factory.annotation.Value;
import org.springframework.stereotype.Service;
import org.thymeleaf.TemplateEngine;
import org.thymeleaf.context.Context;
import software.amazon.awssdk.regions.Region;
import software.amazon.awssdk.services.ses.SesClient;
import software.amazon.awssdk.services.ses.model.*;

import java.net.URI;

@Service
public class SesEmailService {

    @Value("${aws.ses.endpoint}")
    private String sesEndpoint;

    @Value("${aws.region}")
    private String region;

    private final TemplateEngine templateEngine;

    public SesEmailService(TemplateEngine templateEngine) {
        this.templateEngine = templateEngine;
    }

    public String sendEmail(String from, String to, String subject, String body) {
        // Create a new SES client
        try (final SesClient sesClient = SesClient.builder()
                .endpointOverride(URI.create(sesEndpoint))
                .region(Region.of(region))
                .build()) {

            // Create the email request
            final Context context = new Context();
            context.setVariable("body", body);
            // set other variables as needed for the template
            final String htmlBody = templateEngine.process("emailTemplate", context);

            // Create the email request
            final SendEmailRequest emailRequest = SendEmailRequest.builder()
                    .source(from) // 送信元設定
                    .destination(Destination.builder()
                            .toAddresses(to) // 宛先設定
                            .build())
                    .message(Message.builder()
                            .subject(Content.builder()
                                    .data(subject) // 件名設定
                                    .build())
                            .body(Body.builder()
                                    .html(Content.builder()
                                            .data(htmlBody) // HTML本文設定
                                            .build())
                                    .build())
                            .build())
                    .build();

            try {
                // Send the email
                sesClient.sendEmail(emailRequest);
            } catch (SesException e) {
                e.printStackTrace();
                return "Failed to send email.";
            }
        }
        return "Email sent successfully.";
    }
}
SESエンドポイント、リージョン設定
SESのエンドポイントとリージョンの設定を定義します。
以下は、propertiesファイルの例です。
aws.ses.endpoint=https://email.us-east-1.amazonaws.com
aws.region=us-east-1
・メールテンプレート
<!DOCTYPE html>
<html xmlns:th="http://www.thymeleaf.org">
<head>
<title>Email Template</title>
</head>
<body>
<p th:text="${body}"></p>
</body>
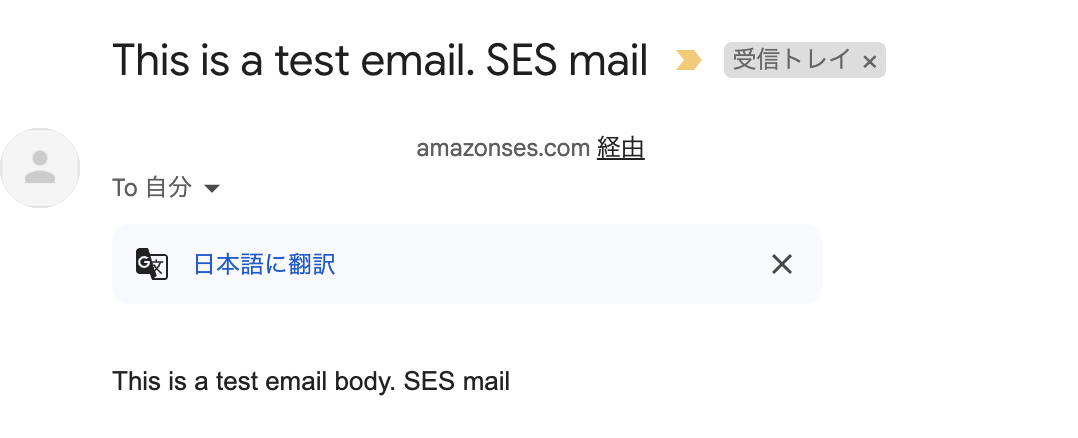
</html>テスト実行してみます。

宛先のメールボックスを確認するとメールが届いています。
※迷惑メールボックス等に振り分けられる可能性があります。
今回のメモは以上となります。
現時点ではAWSのサービス(EC2)からメール送信を行う場合などで、
無料枠も有りますので是非チェックしてみて下さい。